


Ariel Wig Using Arda’s Silky Claudia in Scarlet
For my Ariel pink ballgown cosplay, I knew that I would need the perfect color red for my wig. After doing some internet research, I found the ideal color from Arda Wigs called Scarlet.
Scarlet is a Silky Arda wig, it’s Classic equivalent would be Apple Red. Now, the reason I ordered the Silky version was that it was near Christmas and they were HALF OFF! Amazing, right?! I had limited choices when it came to the actual wig that had the Scarlet color and available and silky..So, I went with the Claudia because I wanted bang to play with, the length, and I could brush out the ringlets.
-

- Before – ringlets in tact
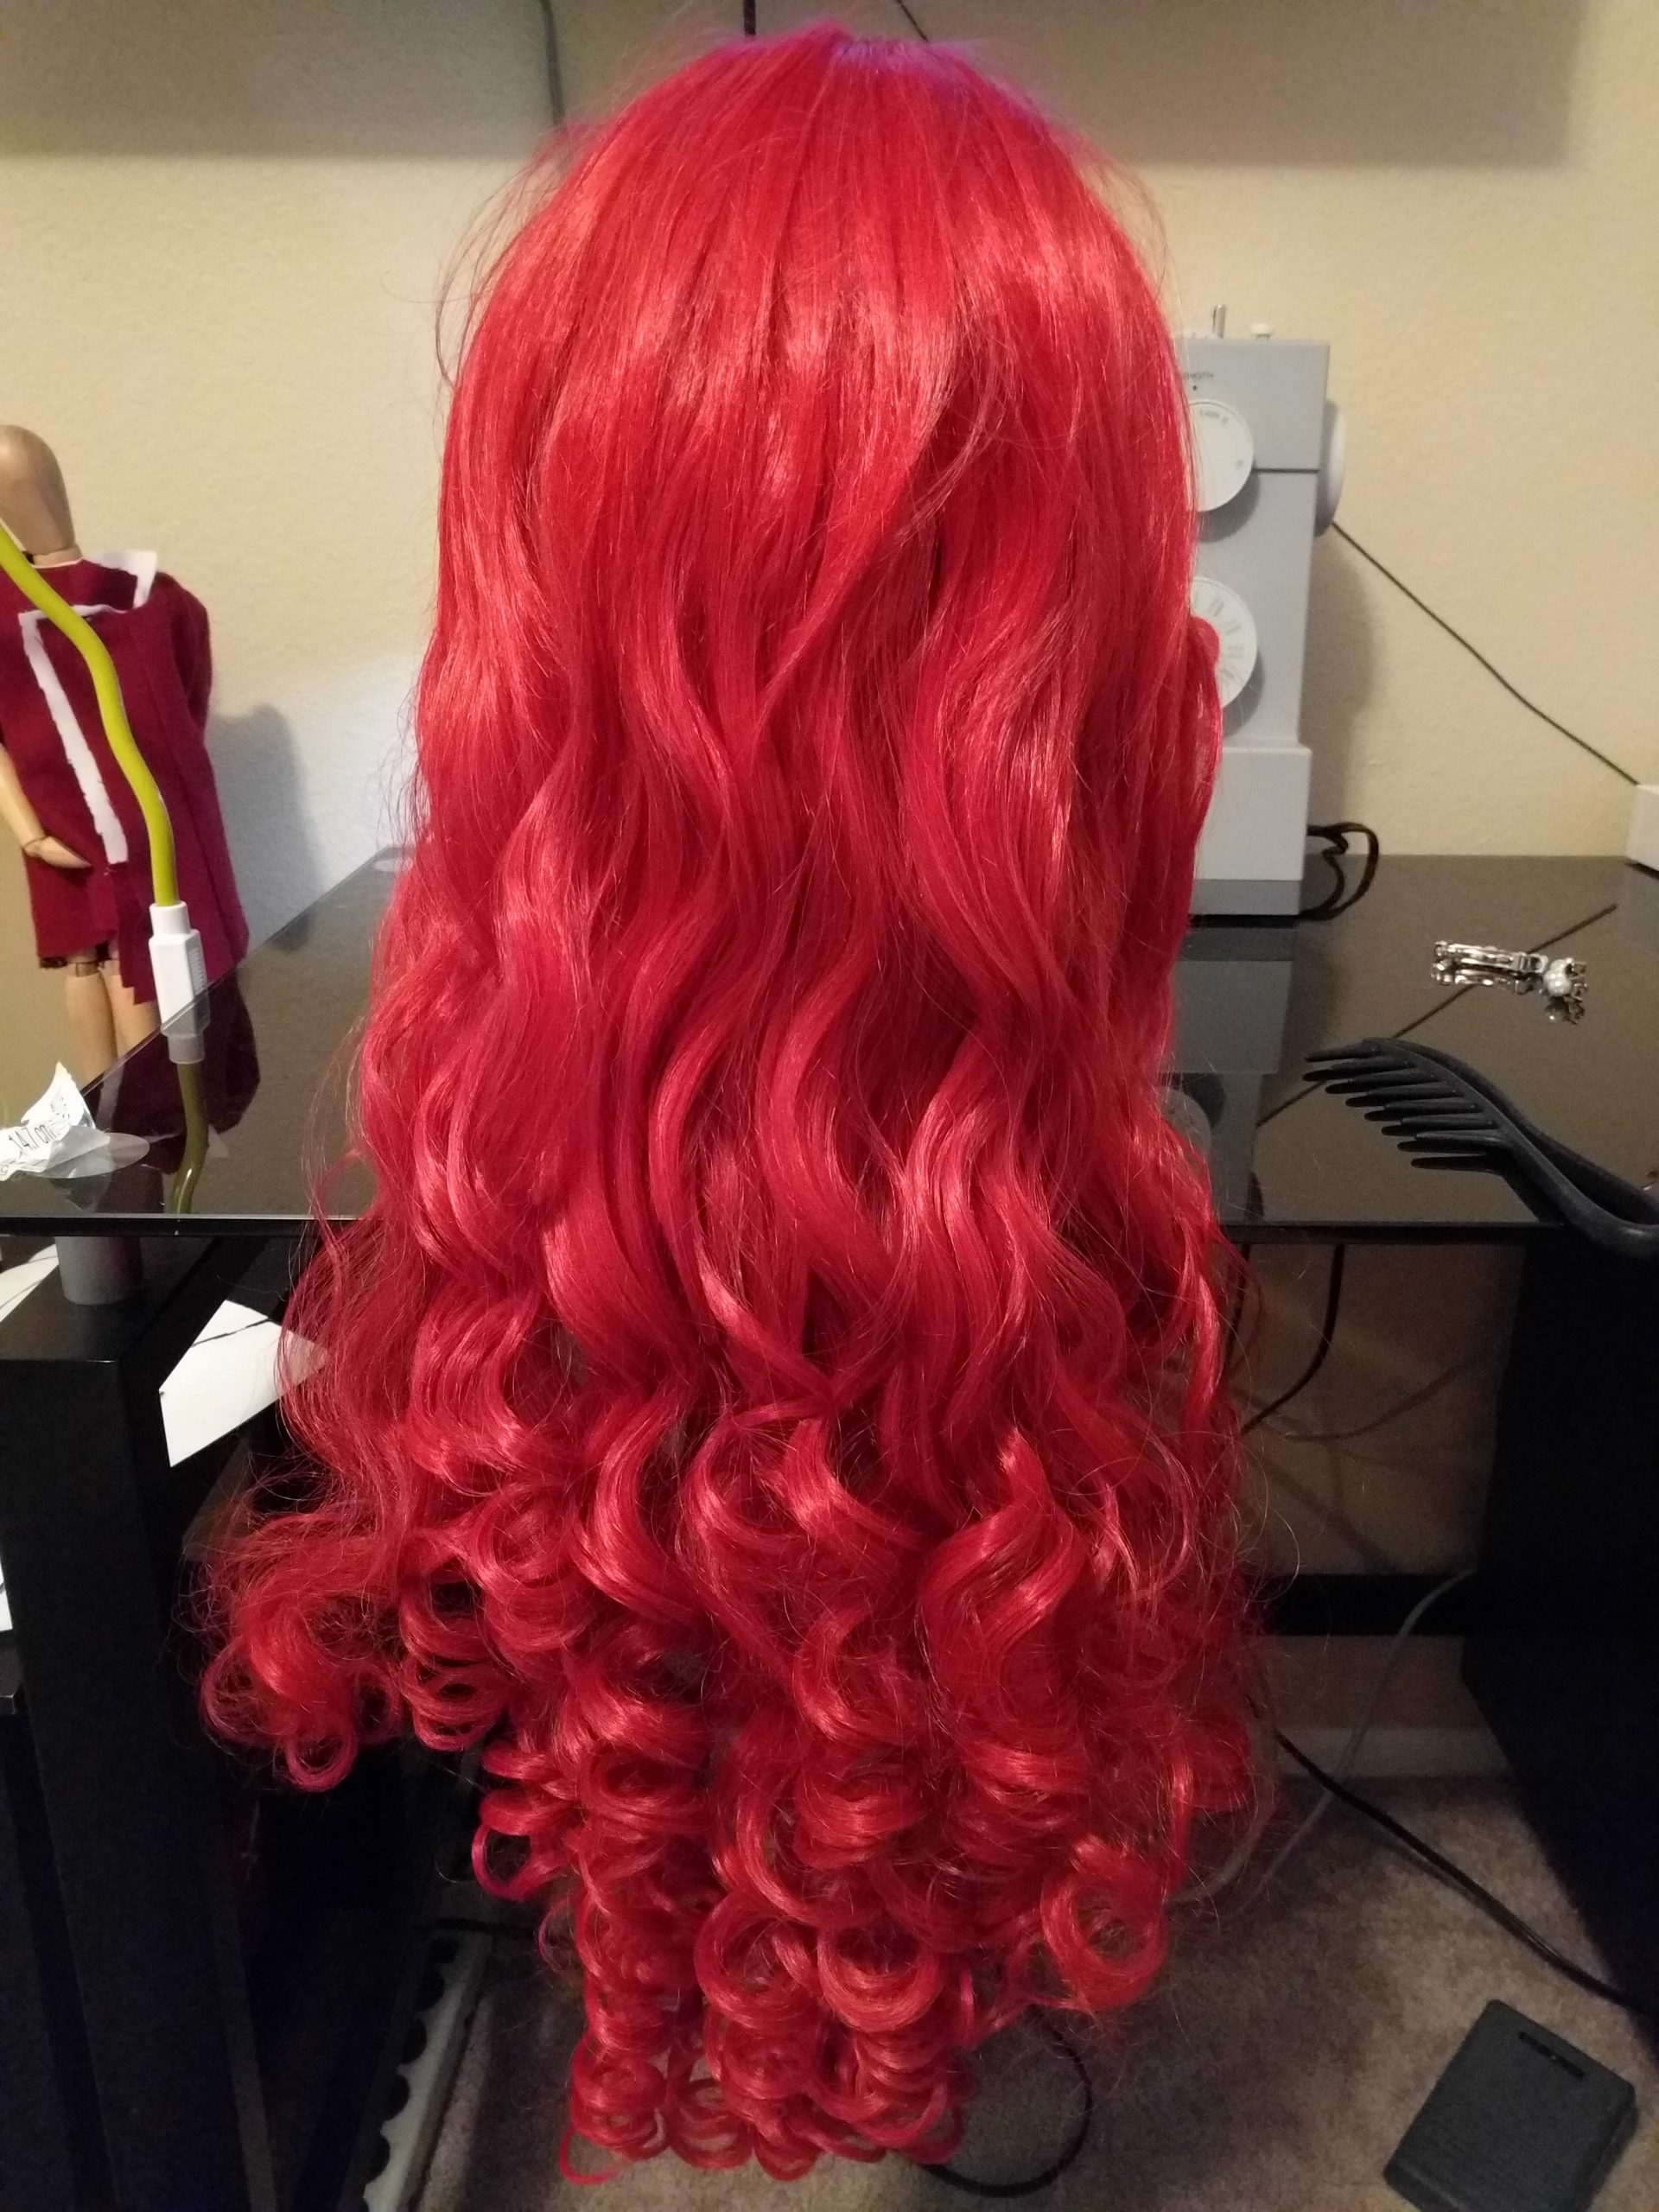
-

- After – separated into layers and straightened
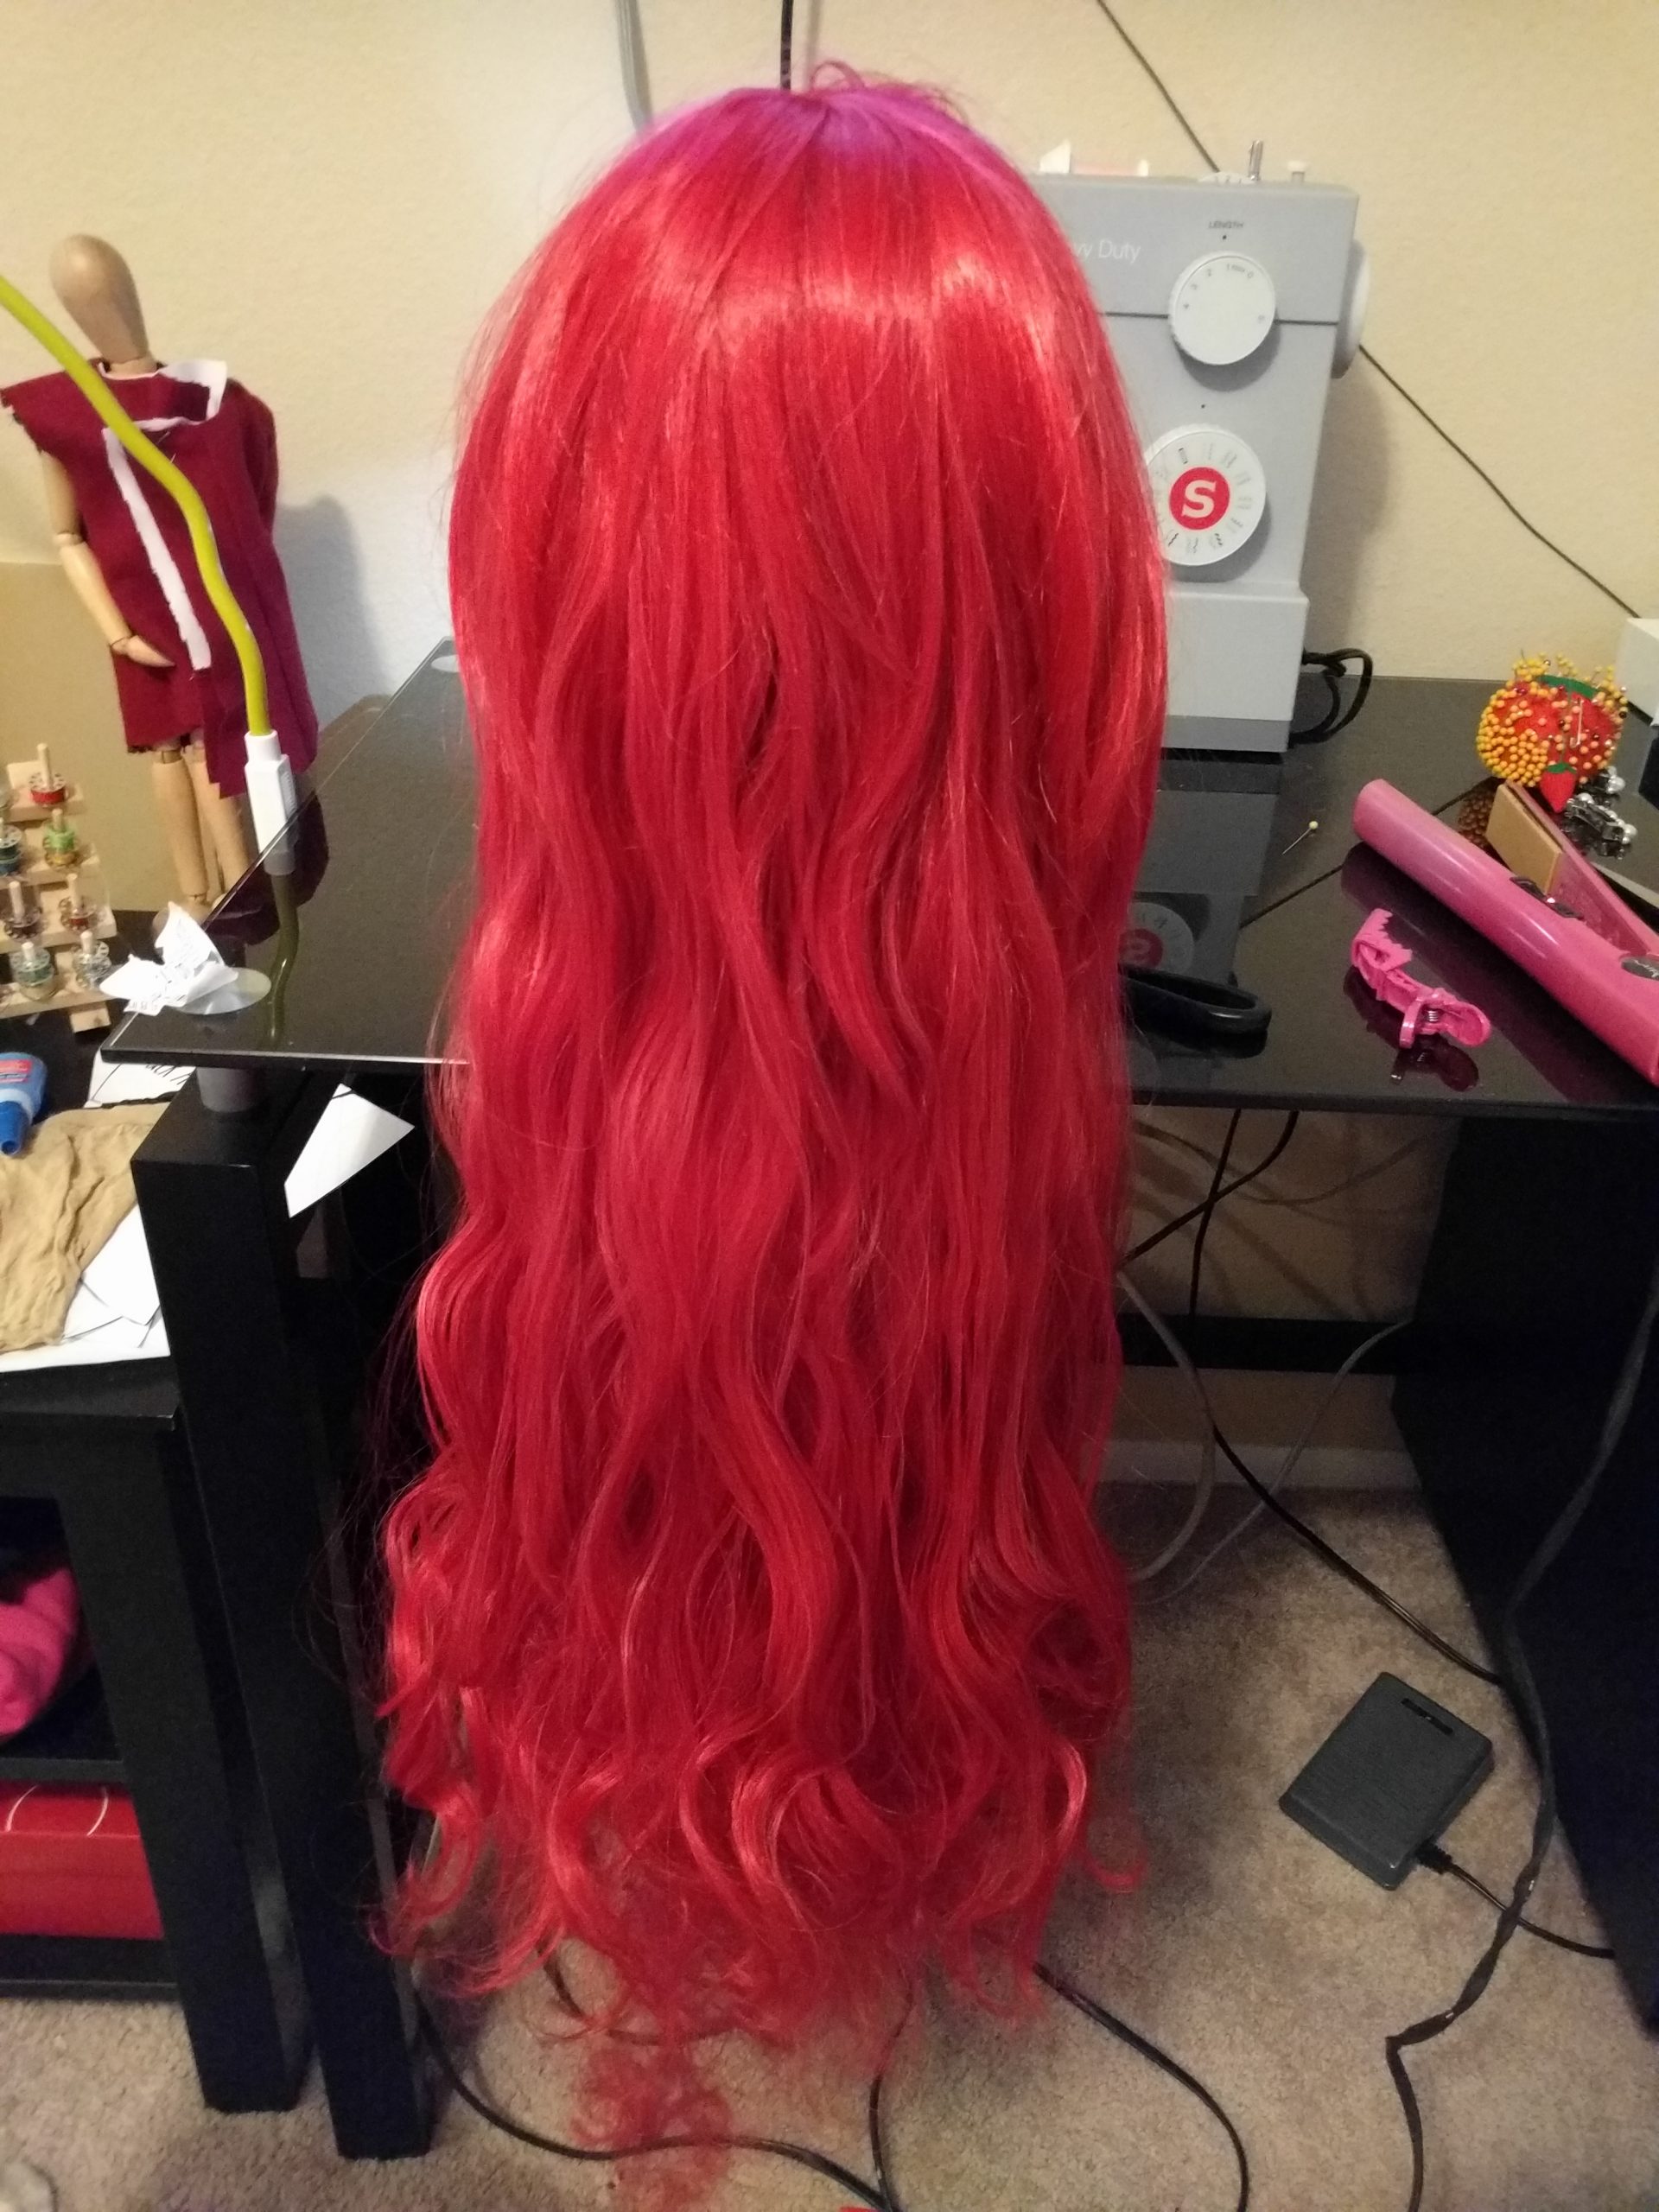
Rock the Waves, Ariel!
To work out the ringlets of Arda’s Claudia wig, I just sectioned the hair by layer and used my straightener at 300 degrees on each piece. I know that the hair could be straighter, but I know that Ariel has a full/wavy kinda of hair…and I didn’t want it to be bone straight. So, just wanted to remove the fakeness of the ringlets that just don’t belong on Ariel. I used a spray to help protect the fibers from the heat. I don’t know if I needed to or not, but I did. I trimmed the bottoms slightly to remove some rough feeling fibers to make it easier to run my wig comb through.
Totally Bangin’ Ariel Wig
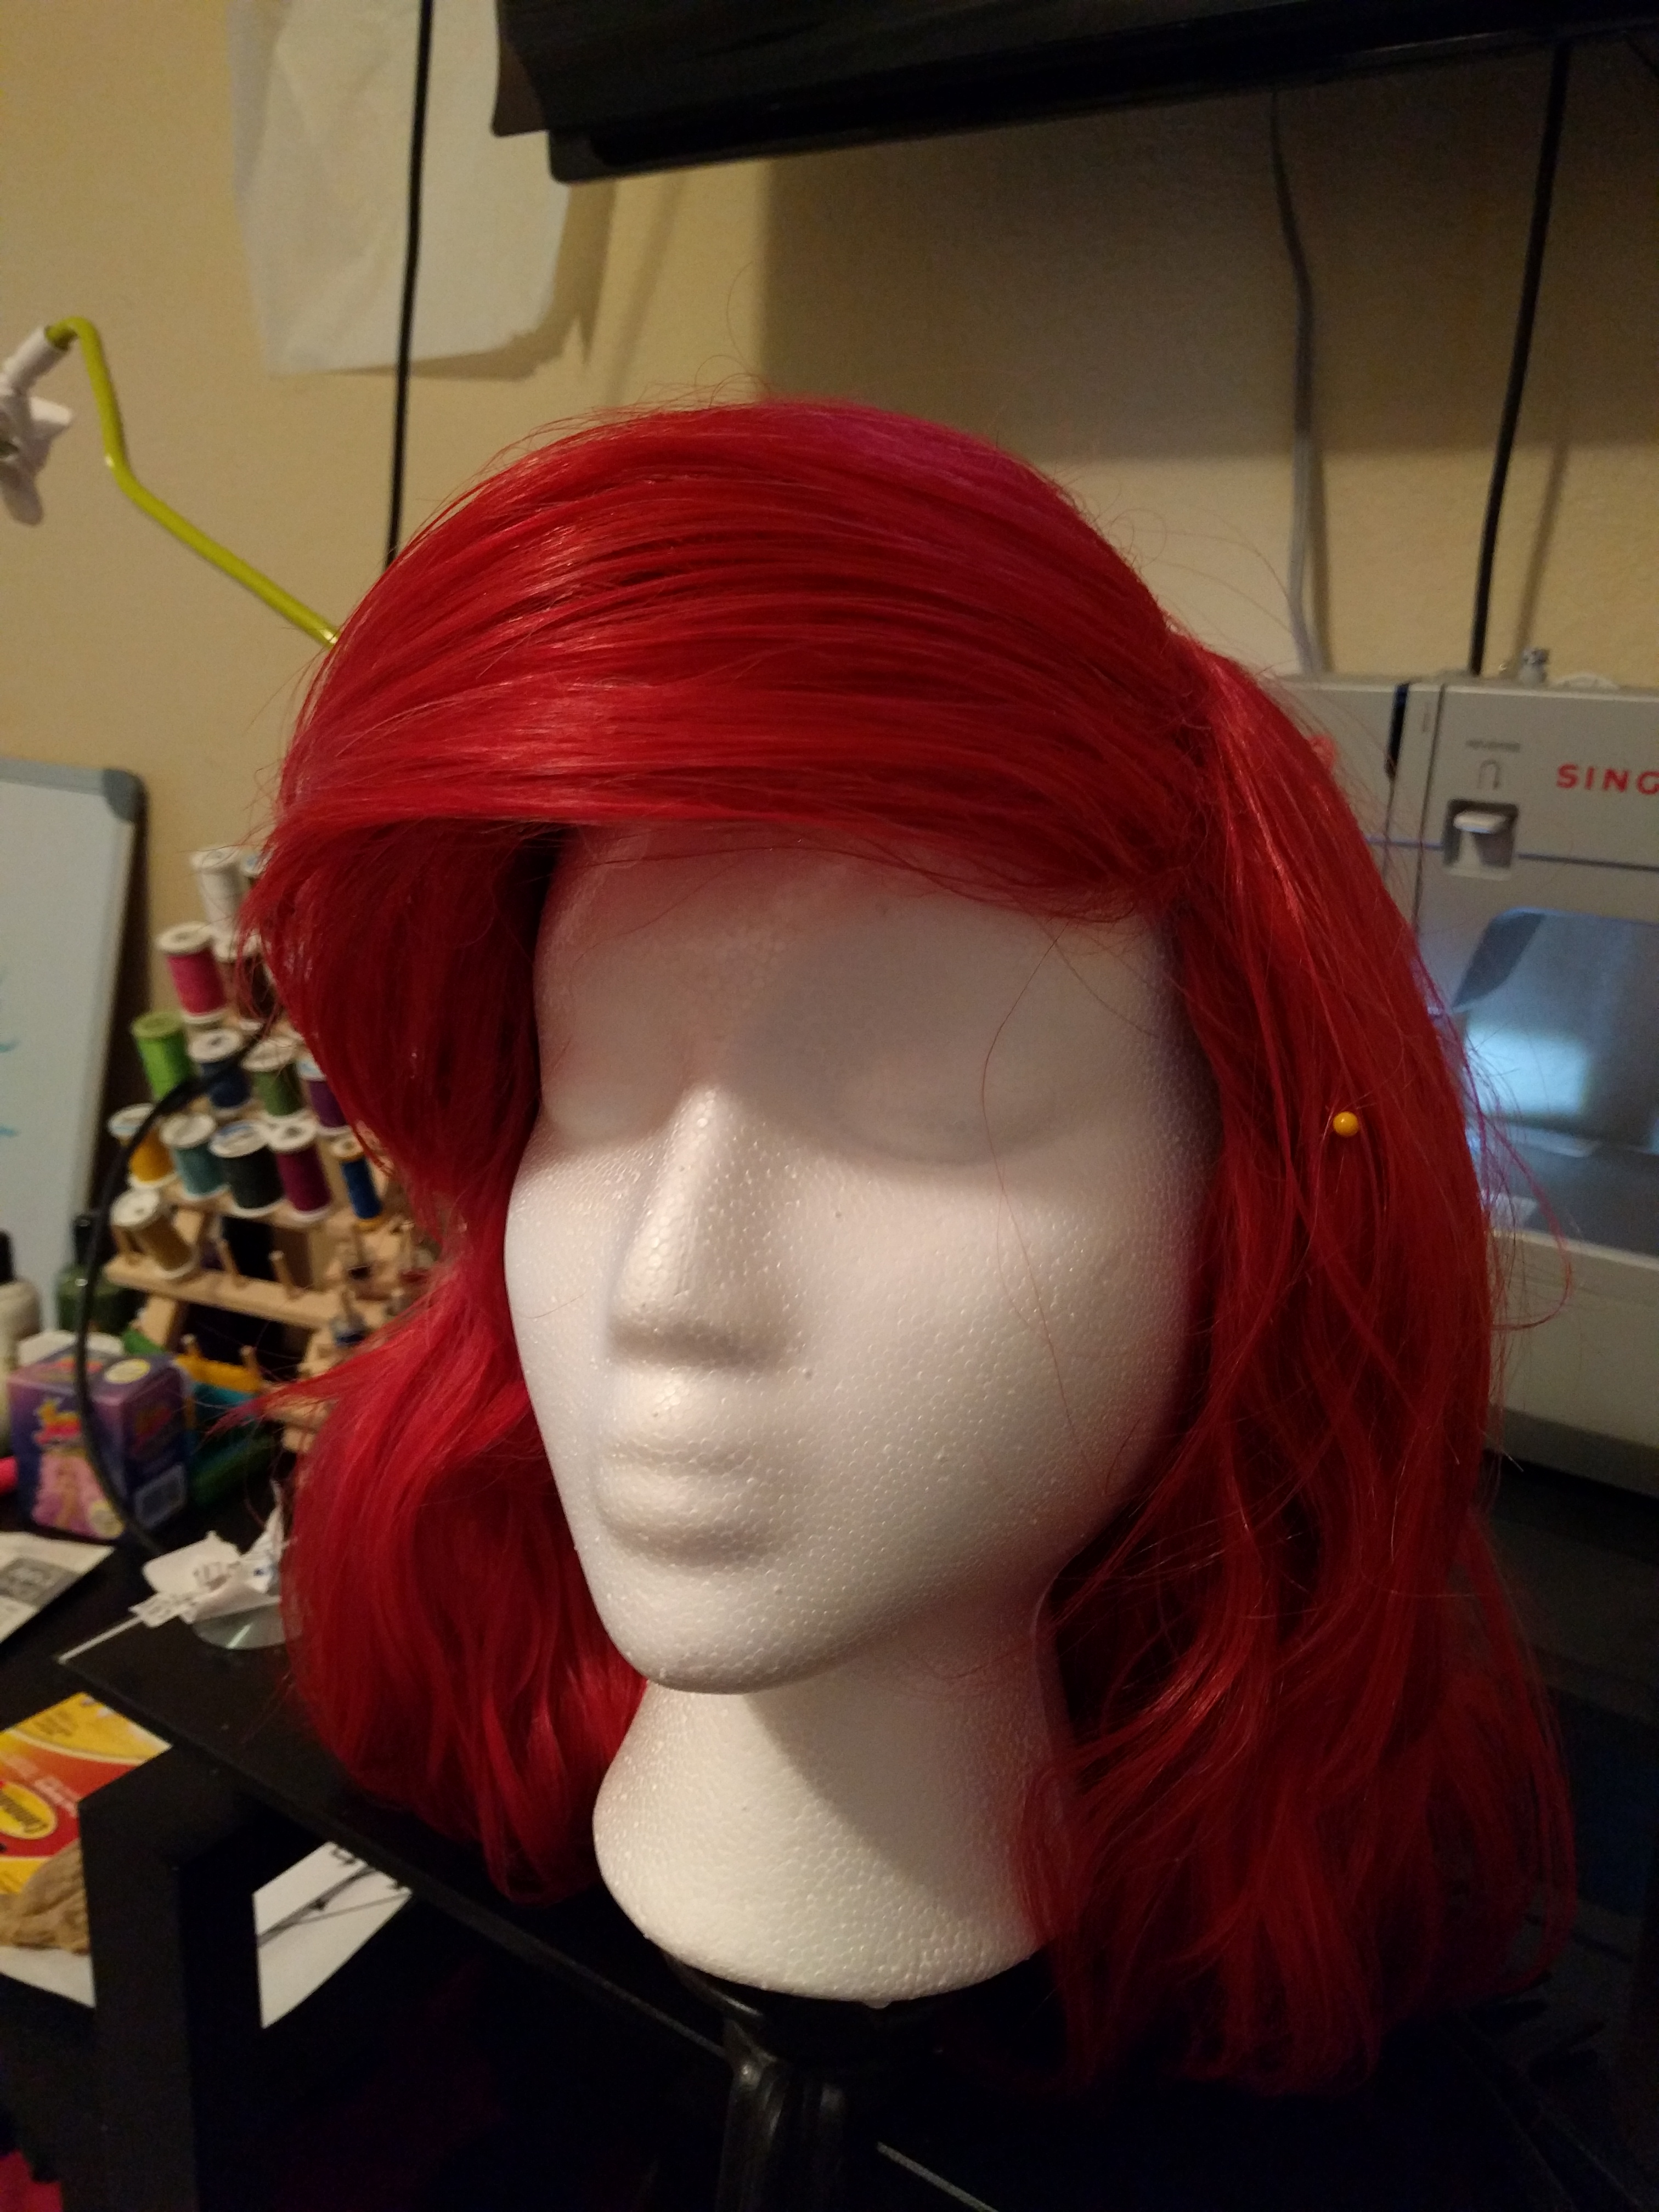 Probably THE MOST IMPORTANT piece to an Ariel wig (aside from the color – of course) would HAVE to be the bangs. So, I’ll be honest…I was terrified to begin the process of this wig.
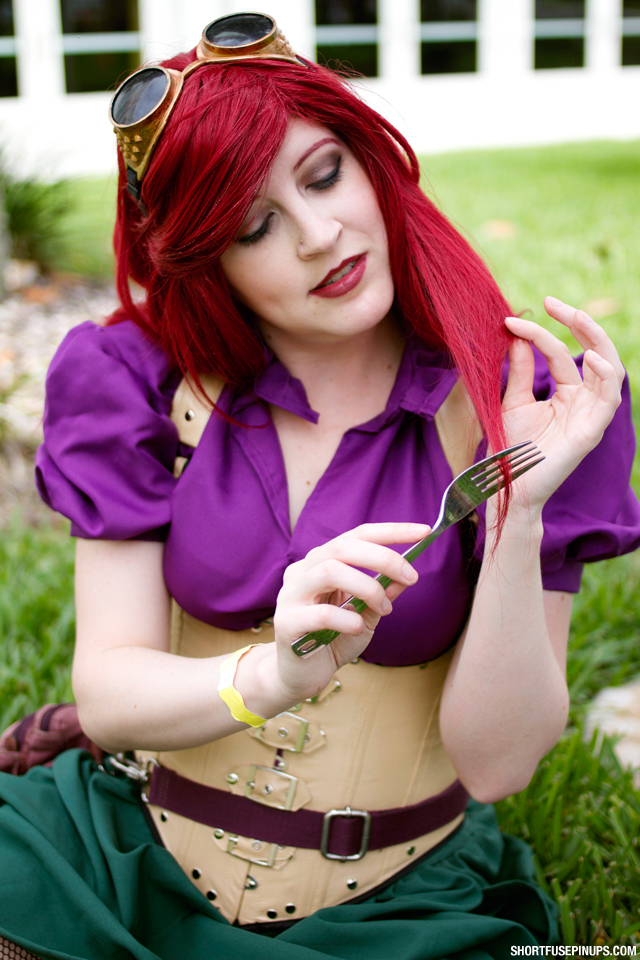
Photo Credit: Short Fuse Pinups
Ariel is a character that I have always dreamed of being…and to have a legit wig….really has to be part of the package. Ya know?
To the right is a photo of my only other Ariel attempt. Steampunk Ariel was probably one of my last “mash-up” cosplay that I’ll ever do (as I can not utilize the costume for my charity work). But I didn’t know about styling wigs 3 years ago, I’ve learned a lot in the last year or so.
To create the bangs…start at the side that is flatter, not the beginning of the swoop. You can to work backwards to get the poof. You’ll take pieces, little at a time, and tease the bottom. I would tease mostly the side that would be underneath in order to be able to smooth the top back across to reduce the chances of it looking like a crazy rat’s nest on my forehead.


Continue teasing the under layers of the bangs until you’ve made it all the way over to the completion of the bangs. For the front area, you’ll need to start defying gravity a bit. This is made possible with the use of Got2Be Glued hairspray. This hairspray is awesome, but after you spray it, you’ll need to give it time to dry. Smooth the bangs and you’re all good to go.
I applied the barrettes I made and ta-da! Ariel’s wig is completed!
Pingback:Making Ariel's Pearl Barrettes » A to Z Cosplay
Faneshia
I love this! I wish I could cosplay but I love seeing how much work is put into each outfit. Thank you for sharing this, I know sometimes finding and styling the perfect wig can be a challenge!
scrapbookadventures365
Amazing! I bet this is so much fun, such a gorgeous colour wig.
AnotherFoodBlogger
Wow!! You certainly are rocking that red ?