


Best Pattern for Baby Princess Daisy Costume
If you’re a fan of classic video games and adorable outfits, we’ve got just the project for you. Not to mention, a great costume to add to your family’s Halloween or convention list. In this tutorial, we’ll guide you through the process of crafting an enchanting Baby Princess Daisy costume using a fantastic romper pattern available on Etsy. Get ready to embark on a crafting journey fit for Nintendo royalty!
Materials Needed:
 Baby Romper PDF Sewing Pattern (Instant Download from Etsy)
- Fabric: Yellow, orange, and white (according to pattern specifications)
- Sewing Machine
- Thread (matching colors)
- Scissors
- Pins
- Snaps or buttons (for closures)
- Iron
- Measuring tape
- Marking tools (chalk or fabric pen)
- Elastic (for leg openings and securing crown)
- Craft foam (for crown)
Step 1: Acquire the Pattern
Start by purchasing the Baby Romper PDF Sewing Pattern from Etsy (Buy the pattern here). Download and print the pattern, ensuring that you have all the required sizes and pieces.
Step 2: Gather Materials and Prepare Fabric
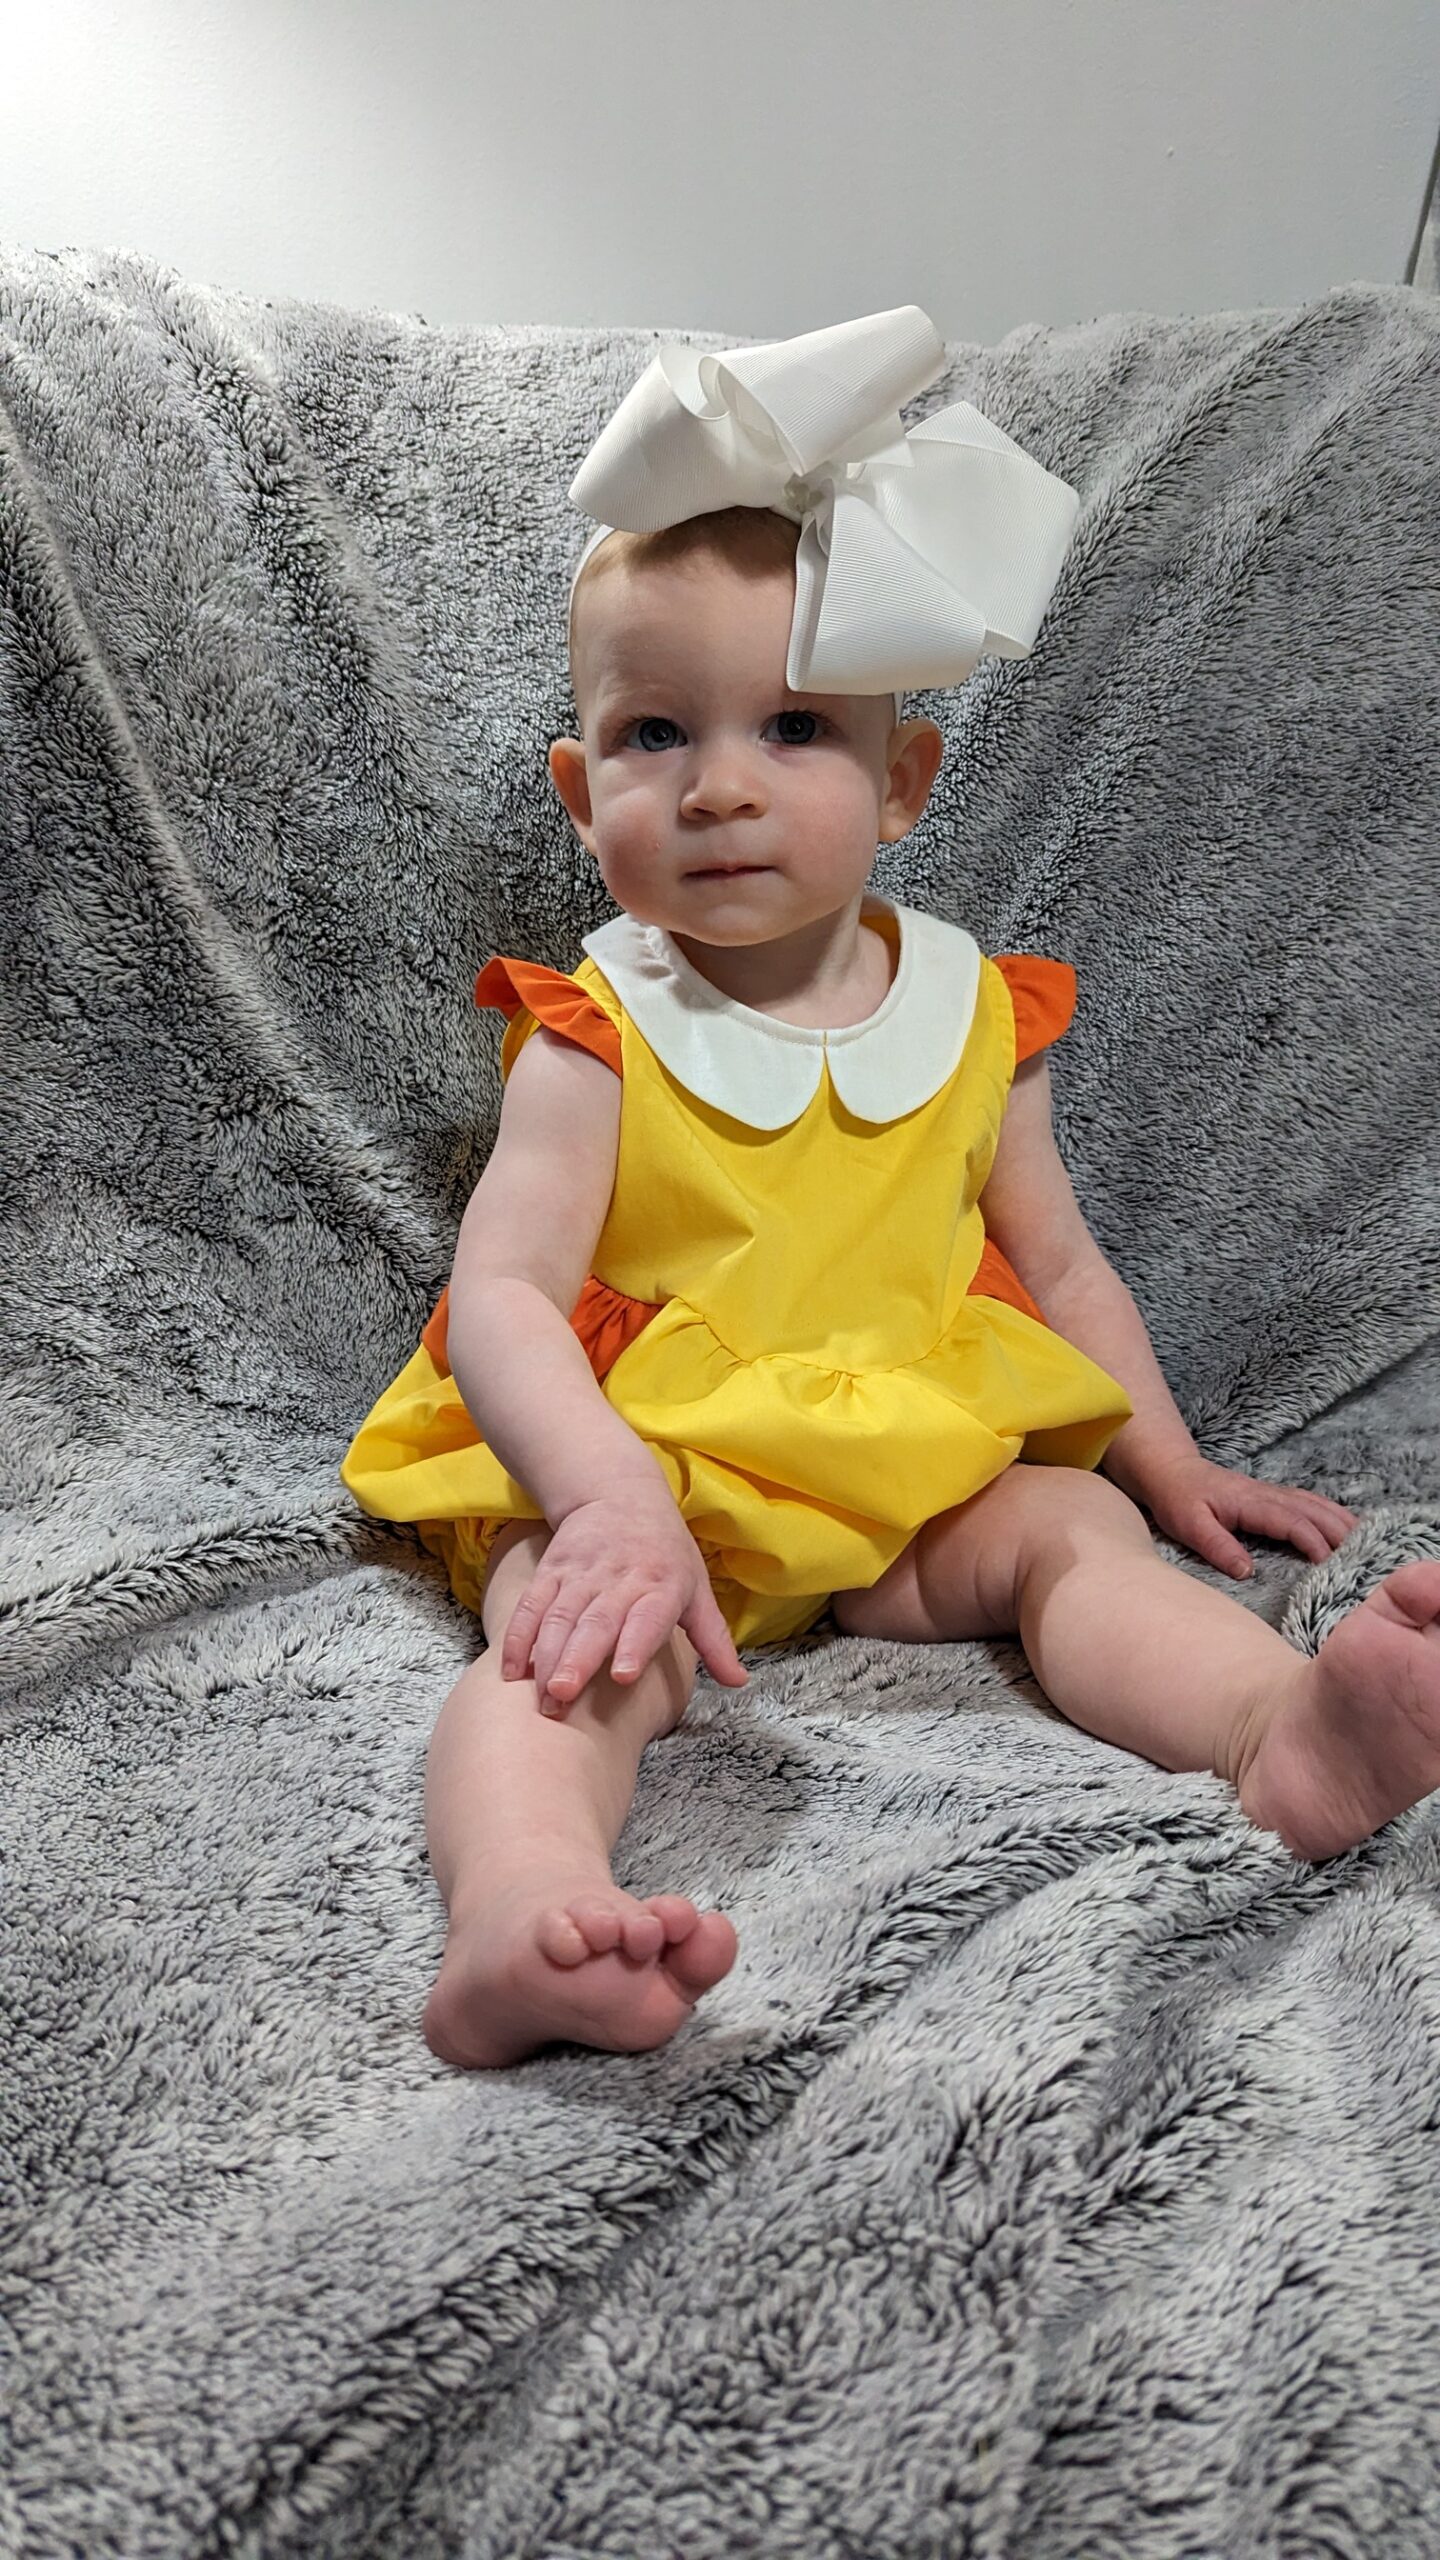
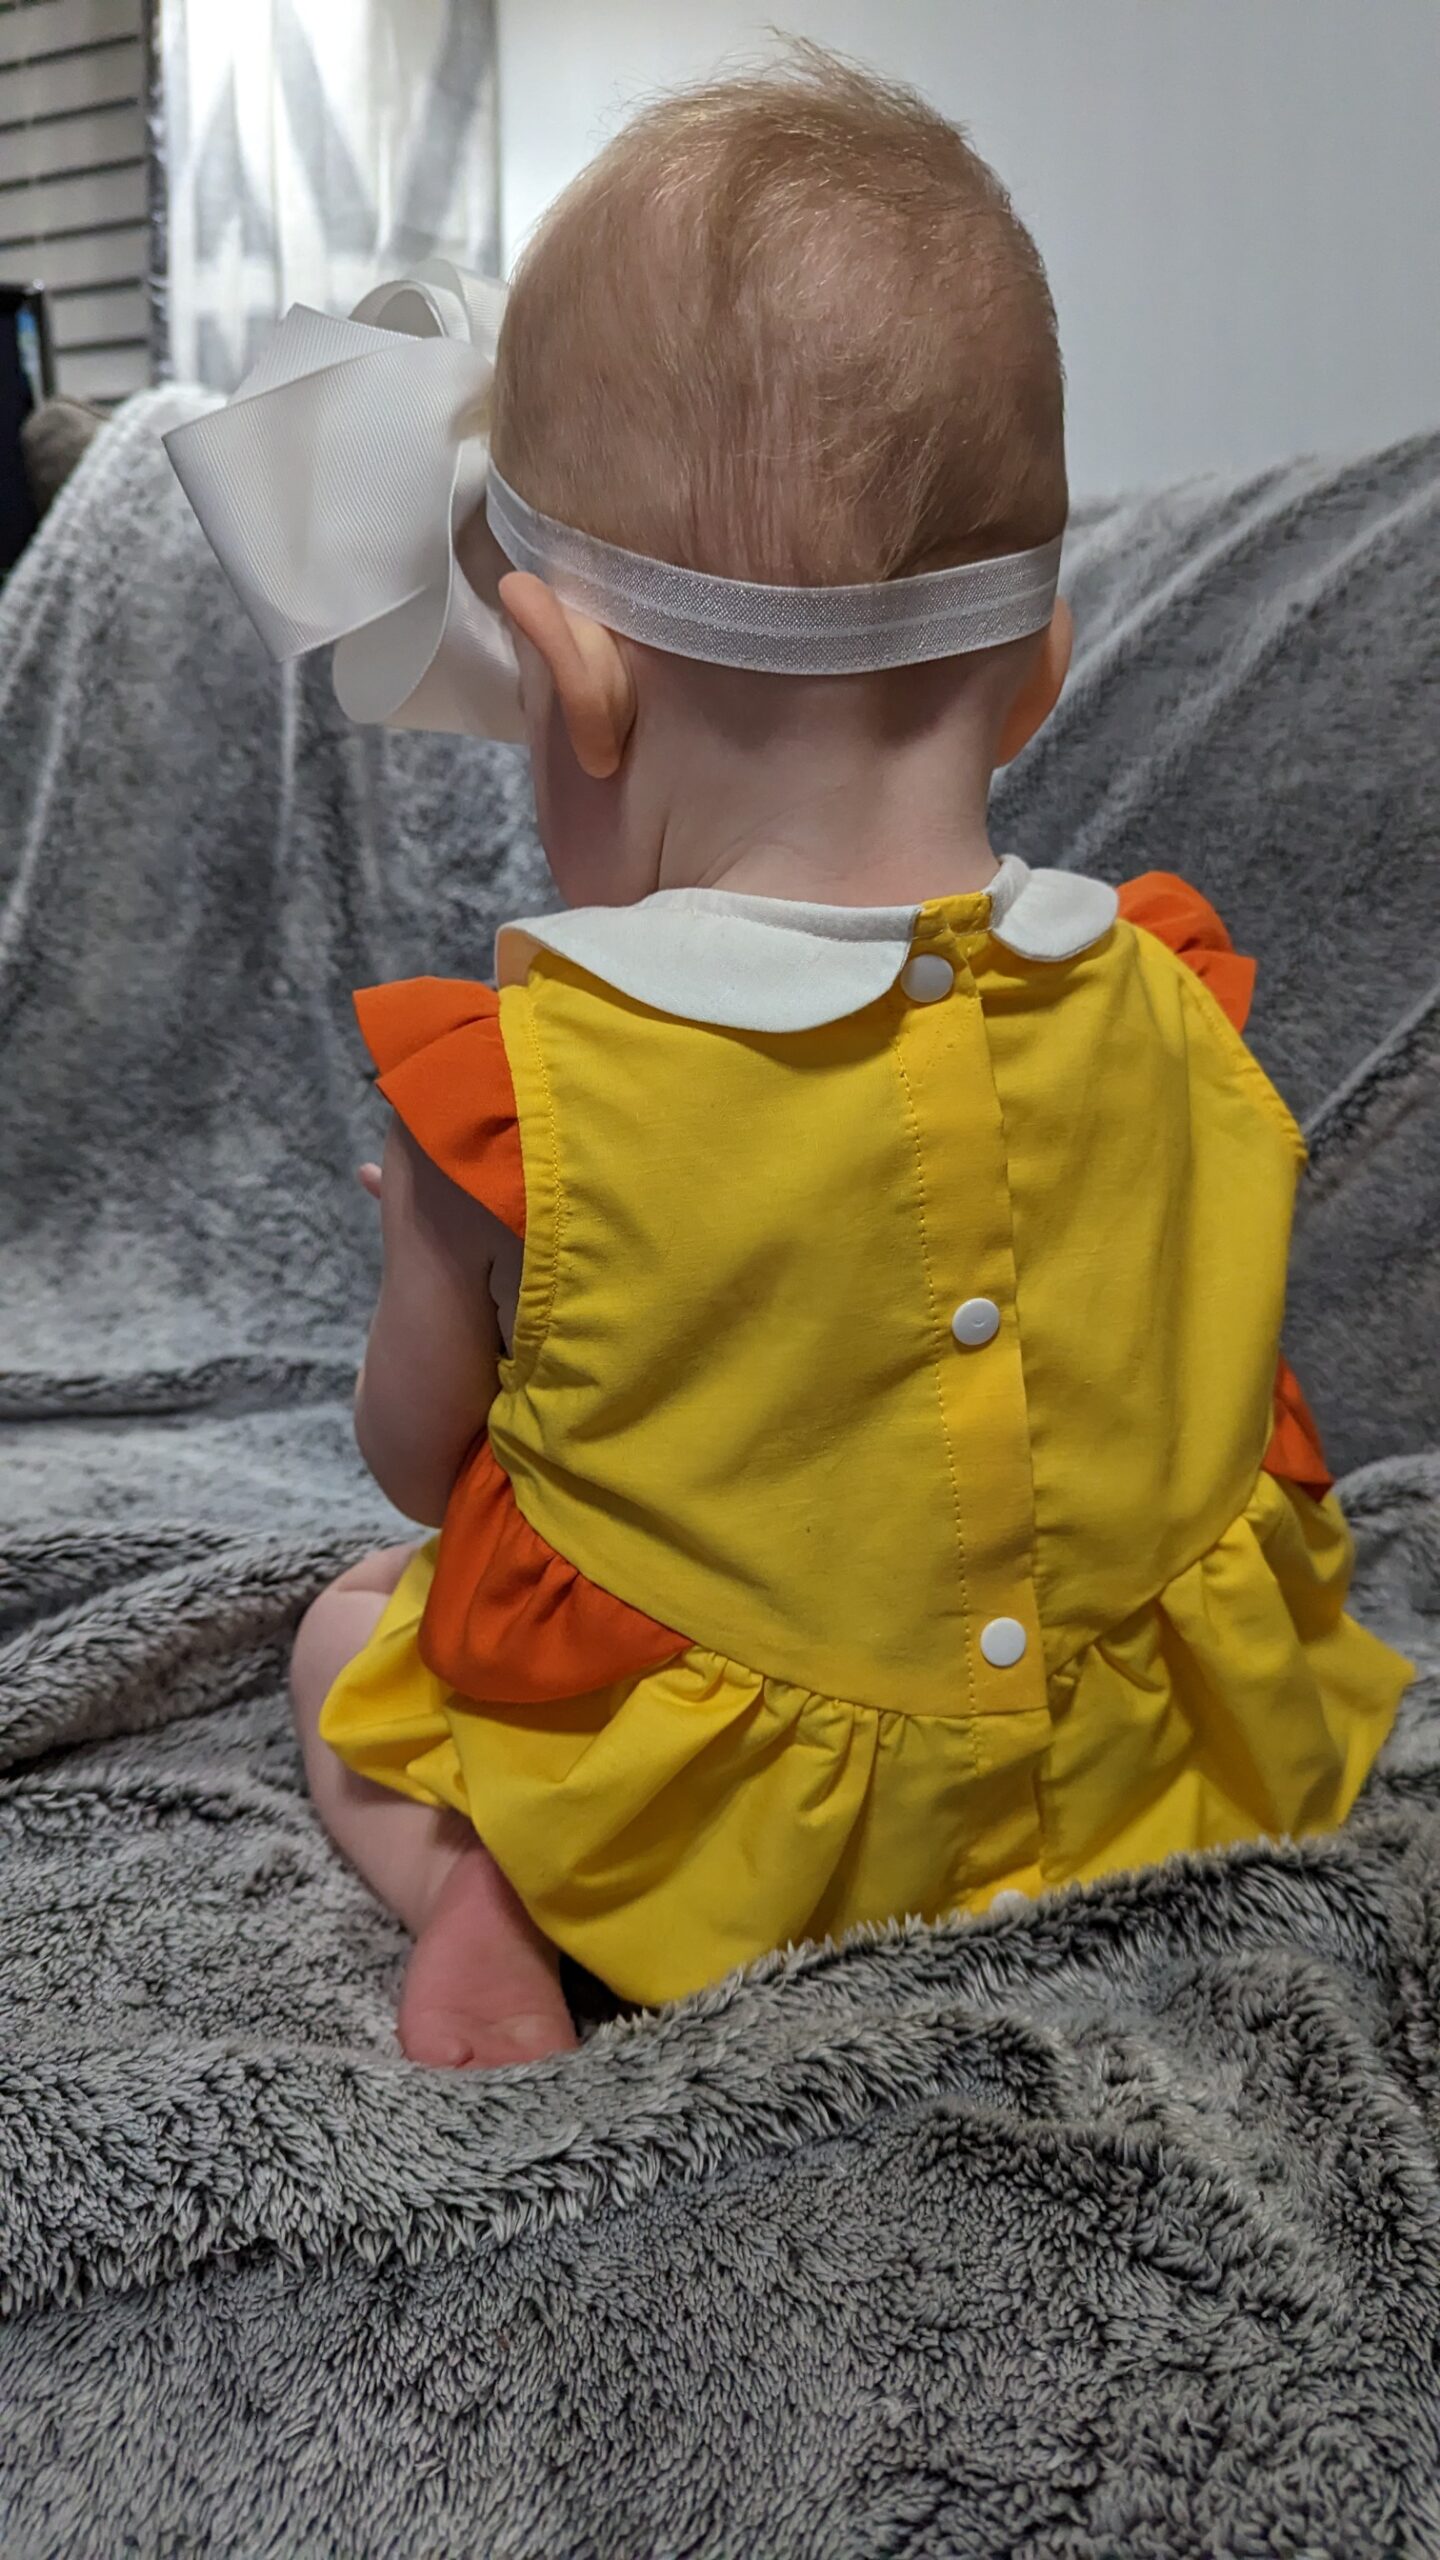
Carefully select your fabric according to the pattern’s specifications. You’ll need fabrics in shades of yellow, orange, green, and white to capture the essence of Princess Daisy’s iconic look. Wash and iron your fabric before starting the project. I used very inexpensive cotton fabric that I luckily already had lying around. White for the collar, yellow for the main portions of the romper, and orange for frills on sleeves and hips.
Fabric Suggestions


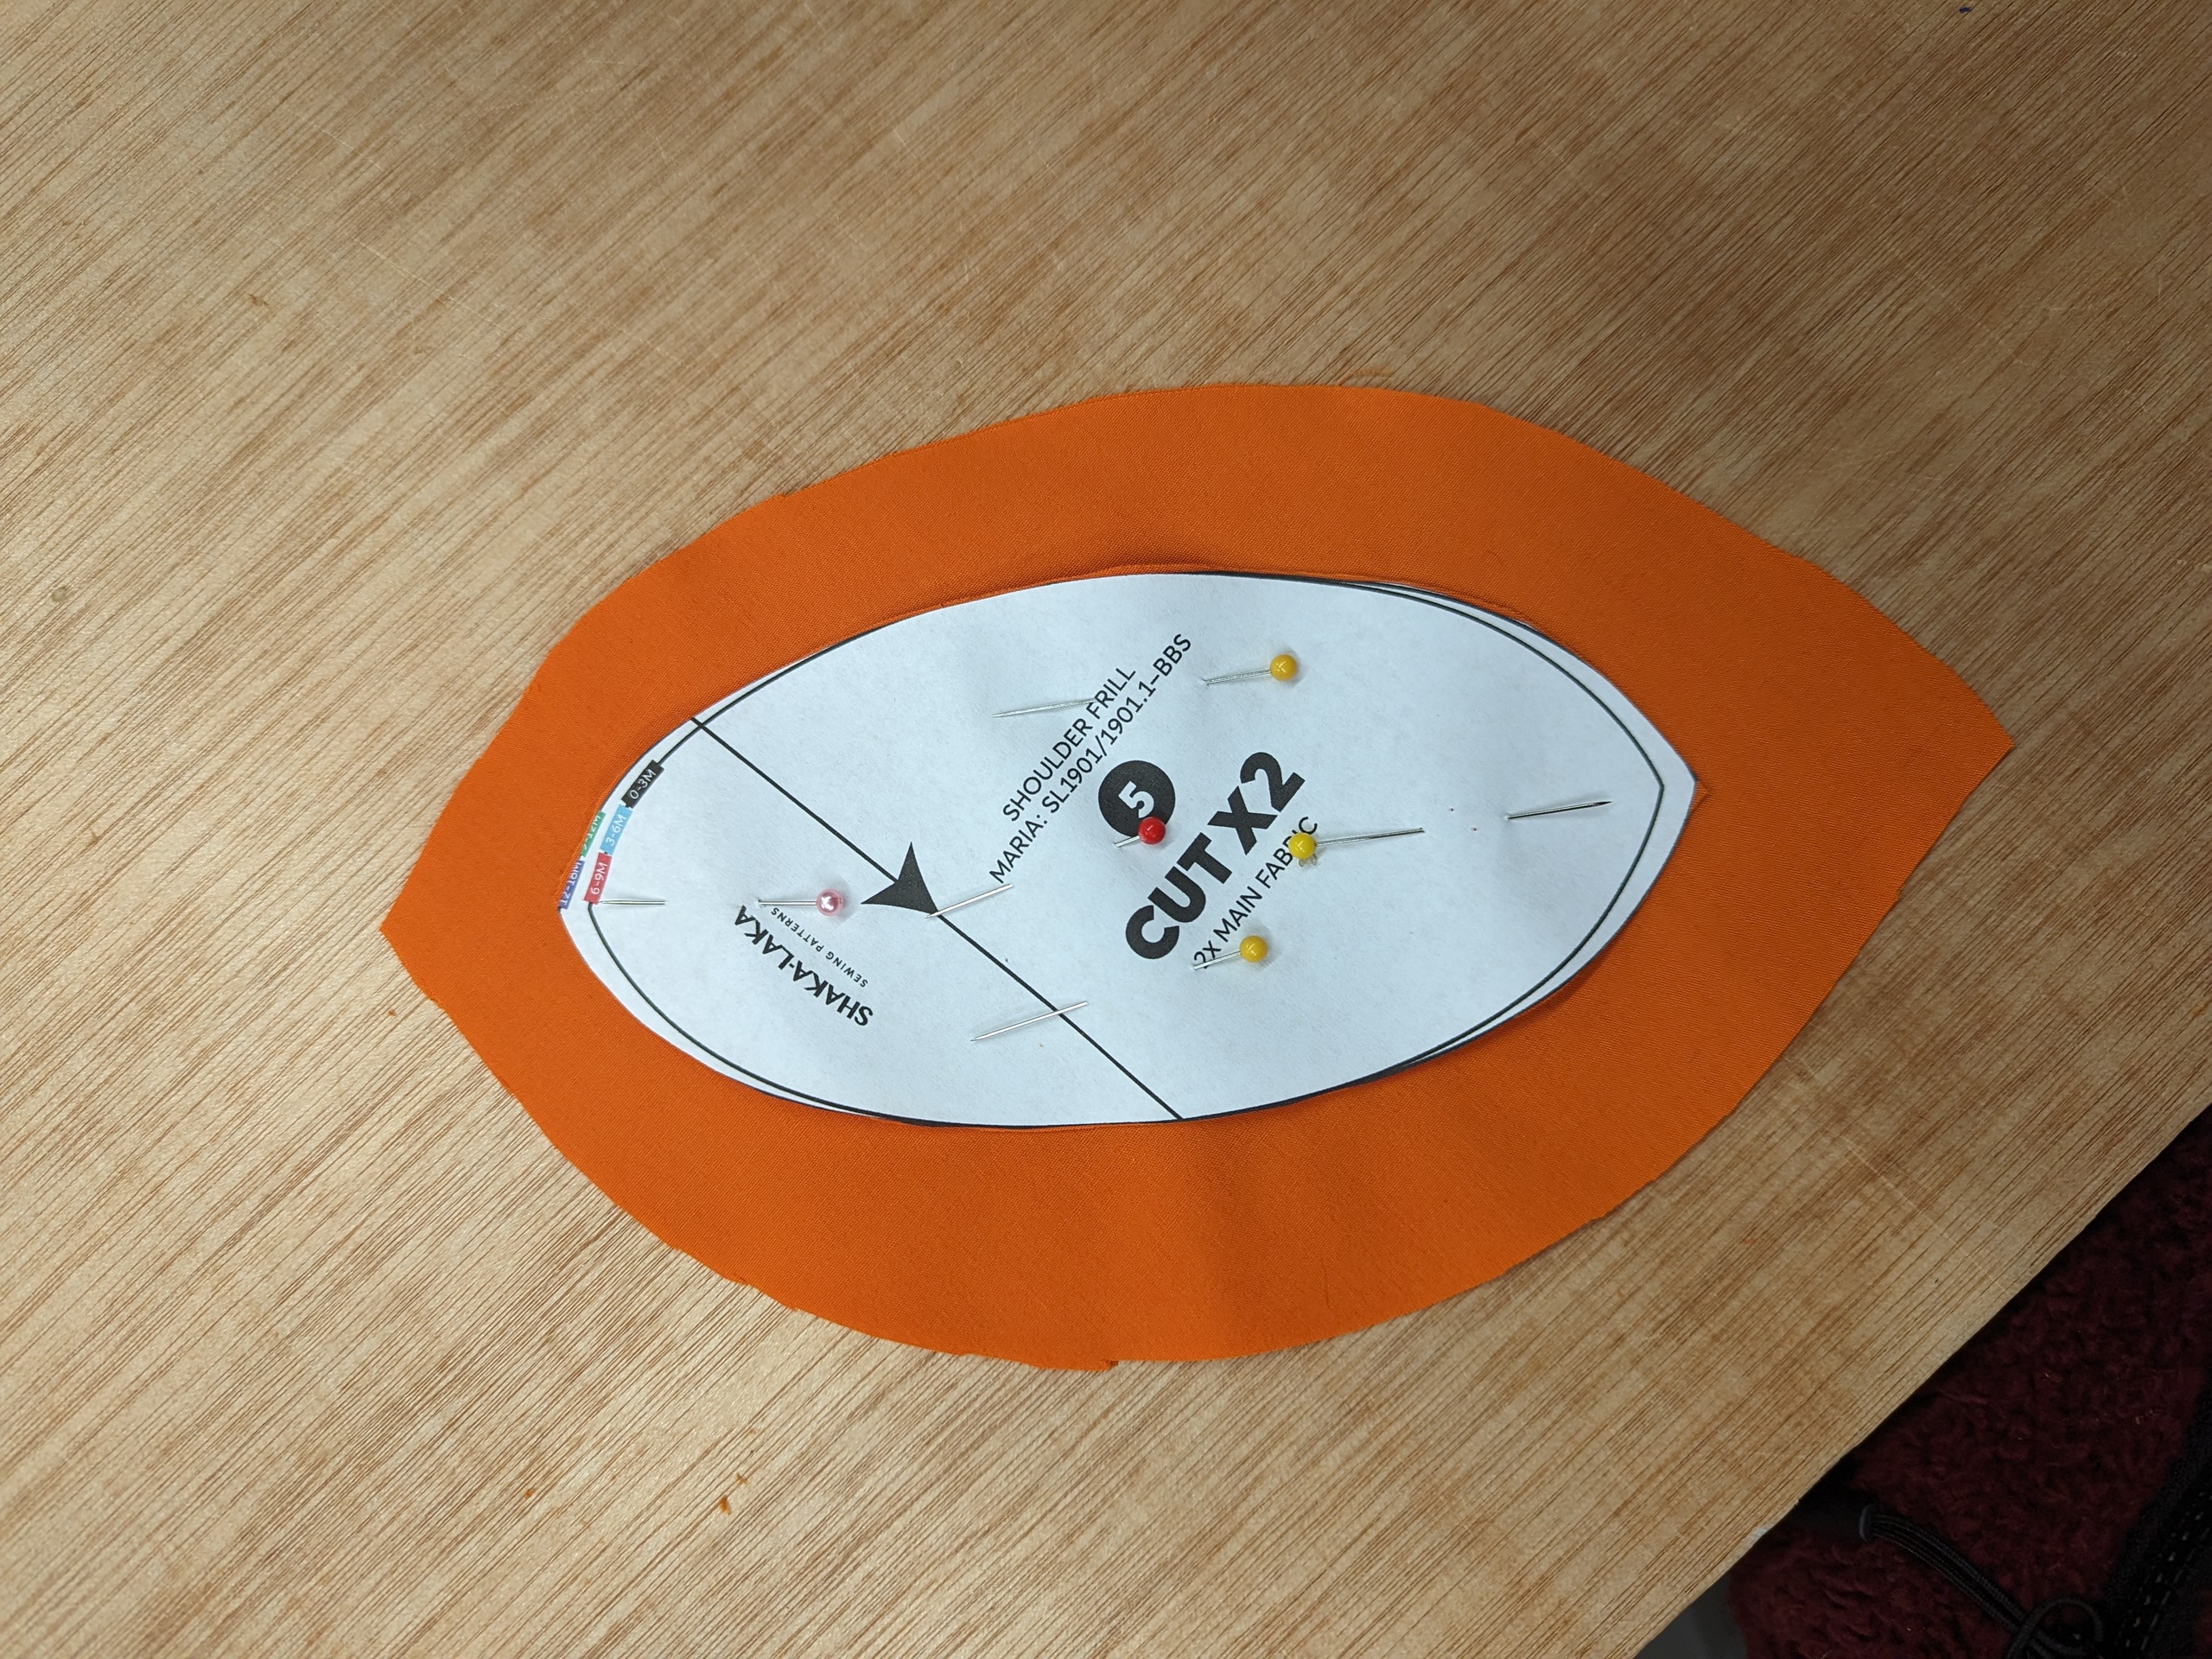
Step 3: Cut and Assemble the Pieces
Follow the pattern instructions to cut out the various pieces needed for the romper. Pay attention to grainlines, notches, and markings. Remember to transfer any markings onto the fabric.
Step 4: Sew the Bodice
Begin by sewing the bodice pieces together. Follow the provided pattern instructions for each step, ensuring precise stitching. Use your sewing machine and matching thread colors for a clean finish.
Step 5: Attach Sleeves and Collar
Carefully attach the sleeves and collar to the bodice. (Pay attention to step 6 for putting the sleeves together – the detail makes a big difference) Take your time to ensure the seams are neat and aligned. Press the seams with an iron for a professional touch.
Step 6: Craft the Princess Daisy Details
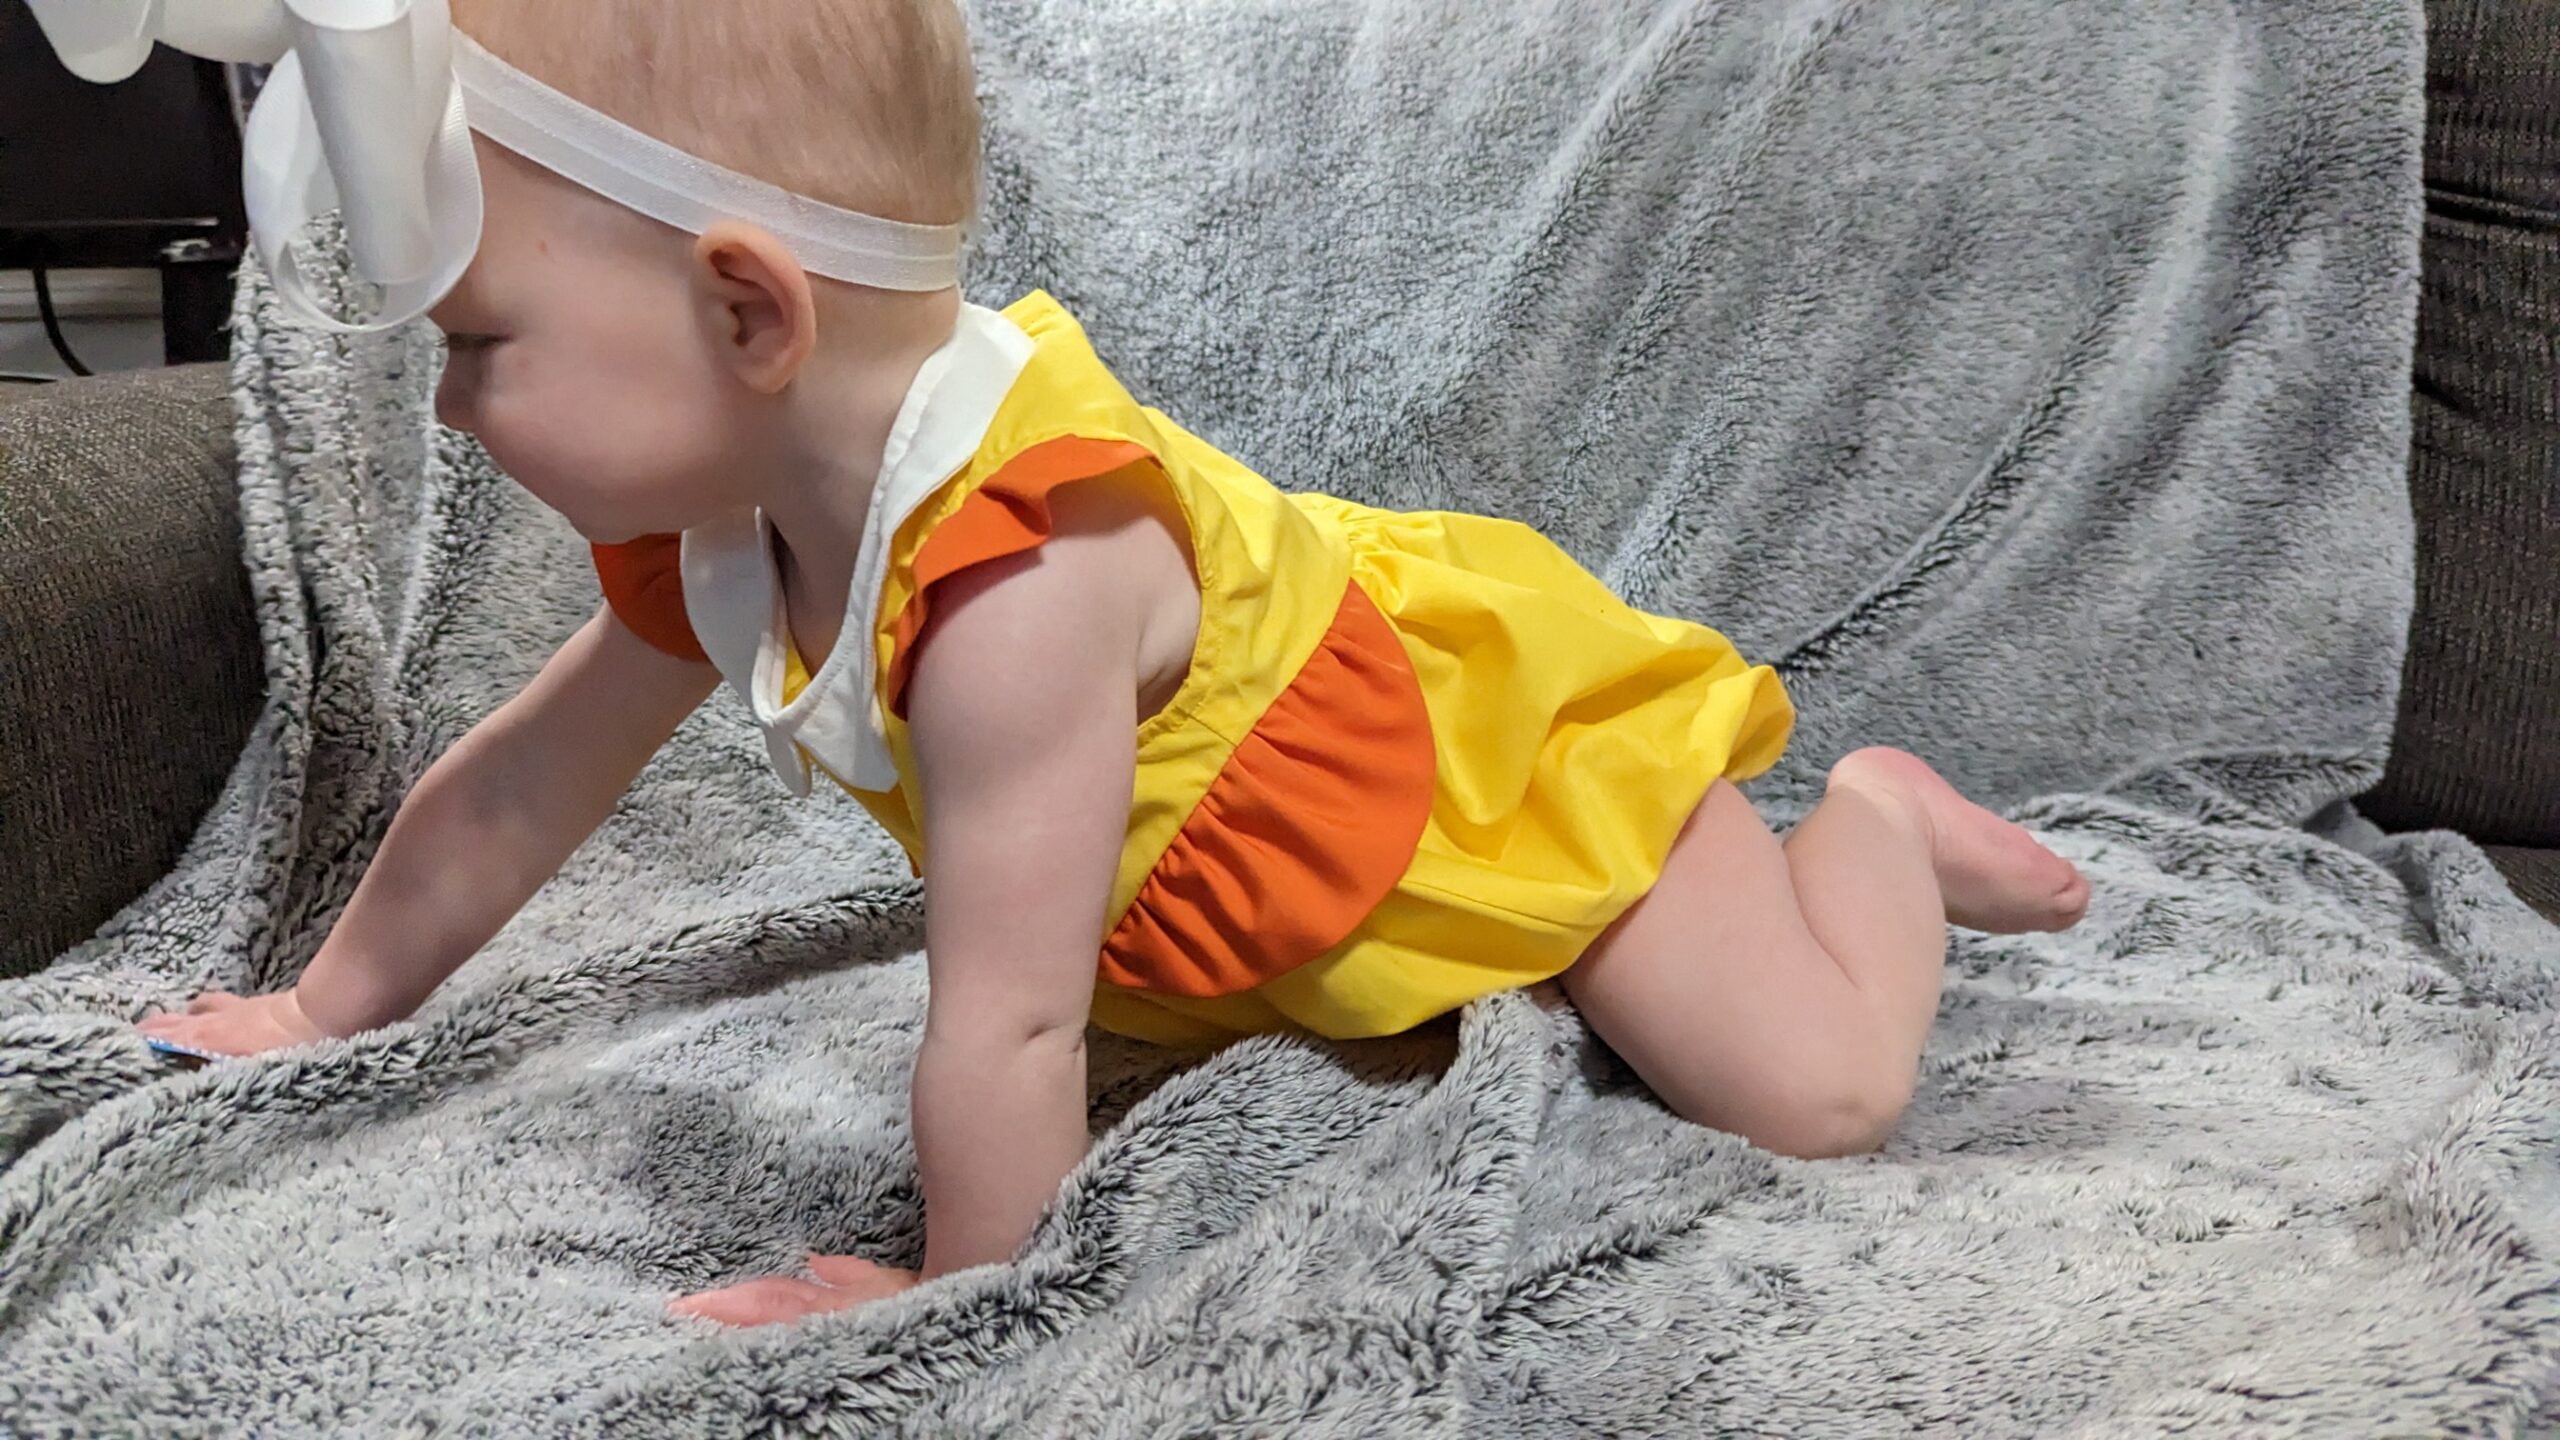
 Add the signature orange accents that make Princess Daisy’s outfit so recognizable. I did this by making the frills of the sleeves out of orange. Then, I took the pattern piece used for the sleeve frill, made a larger version, and used that at the waist seam, too. Sew the details as per the pattern’s guidelines.
Step 7: Construct the Bottom
Follow the pattern instructions to create the bottom part of the romper. Attach elastic to the leg openings for a comfortable fit.
Step 8: Assemble the Romper
Carefully sew the bodice and bottom sections together, following the pattern’s instructions. Make sure the closures (snaps or buttons) are secure.
Step 9: Finishing Touches
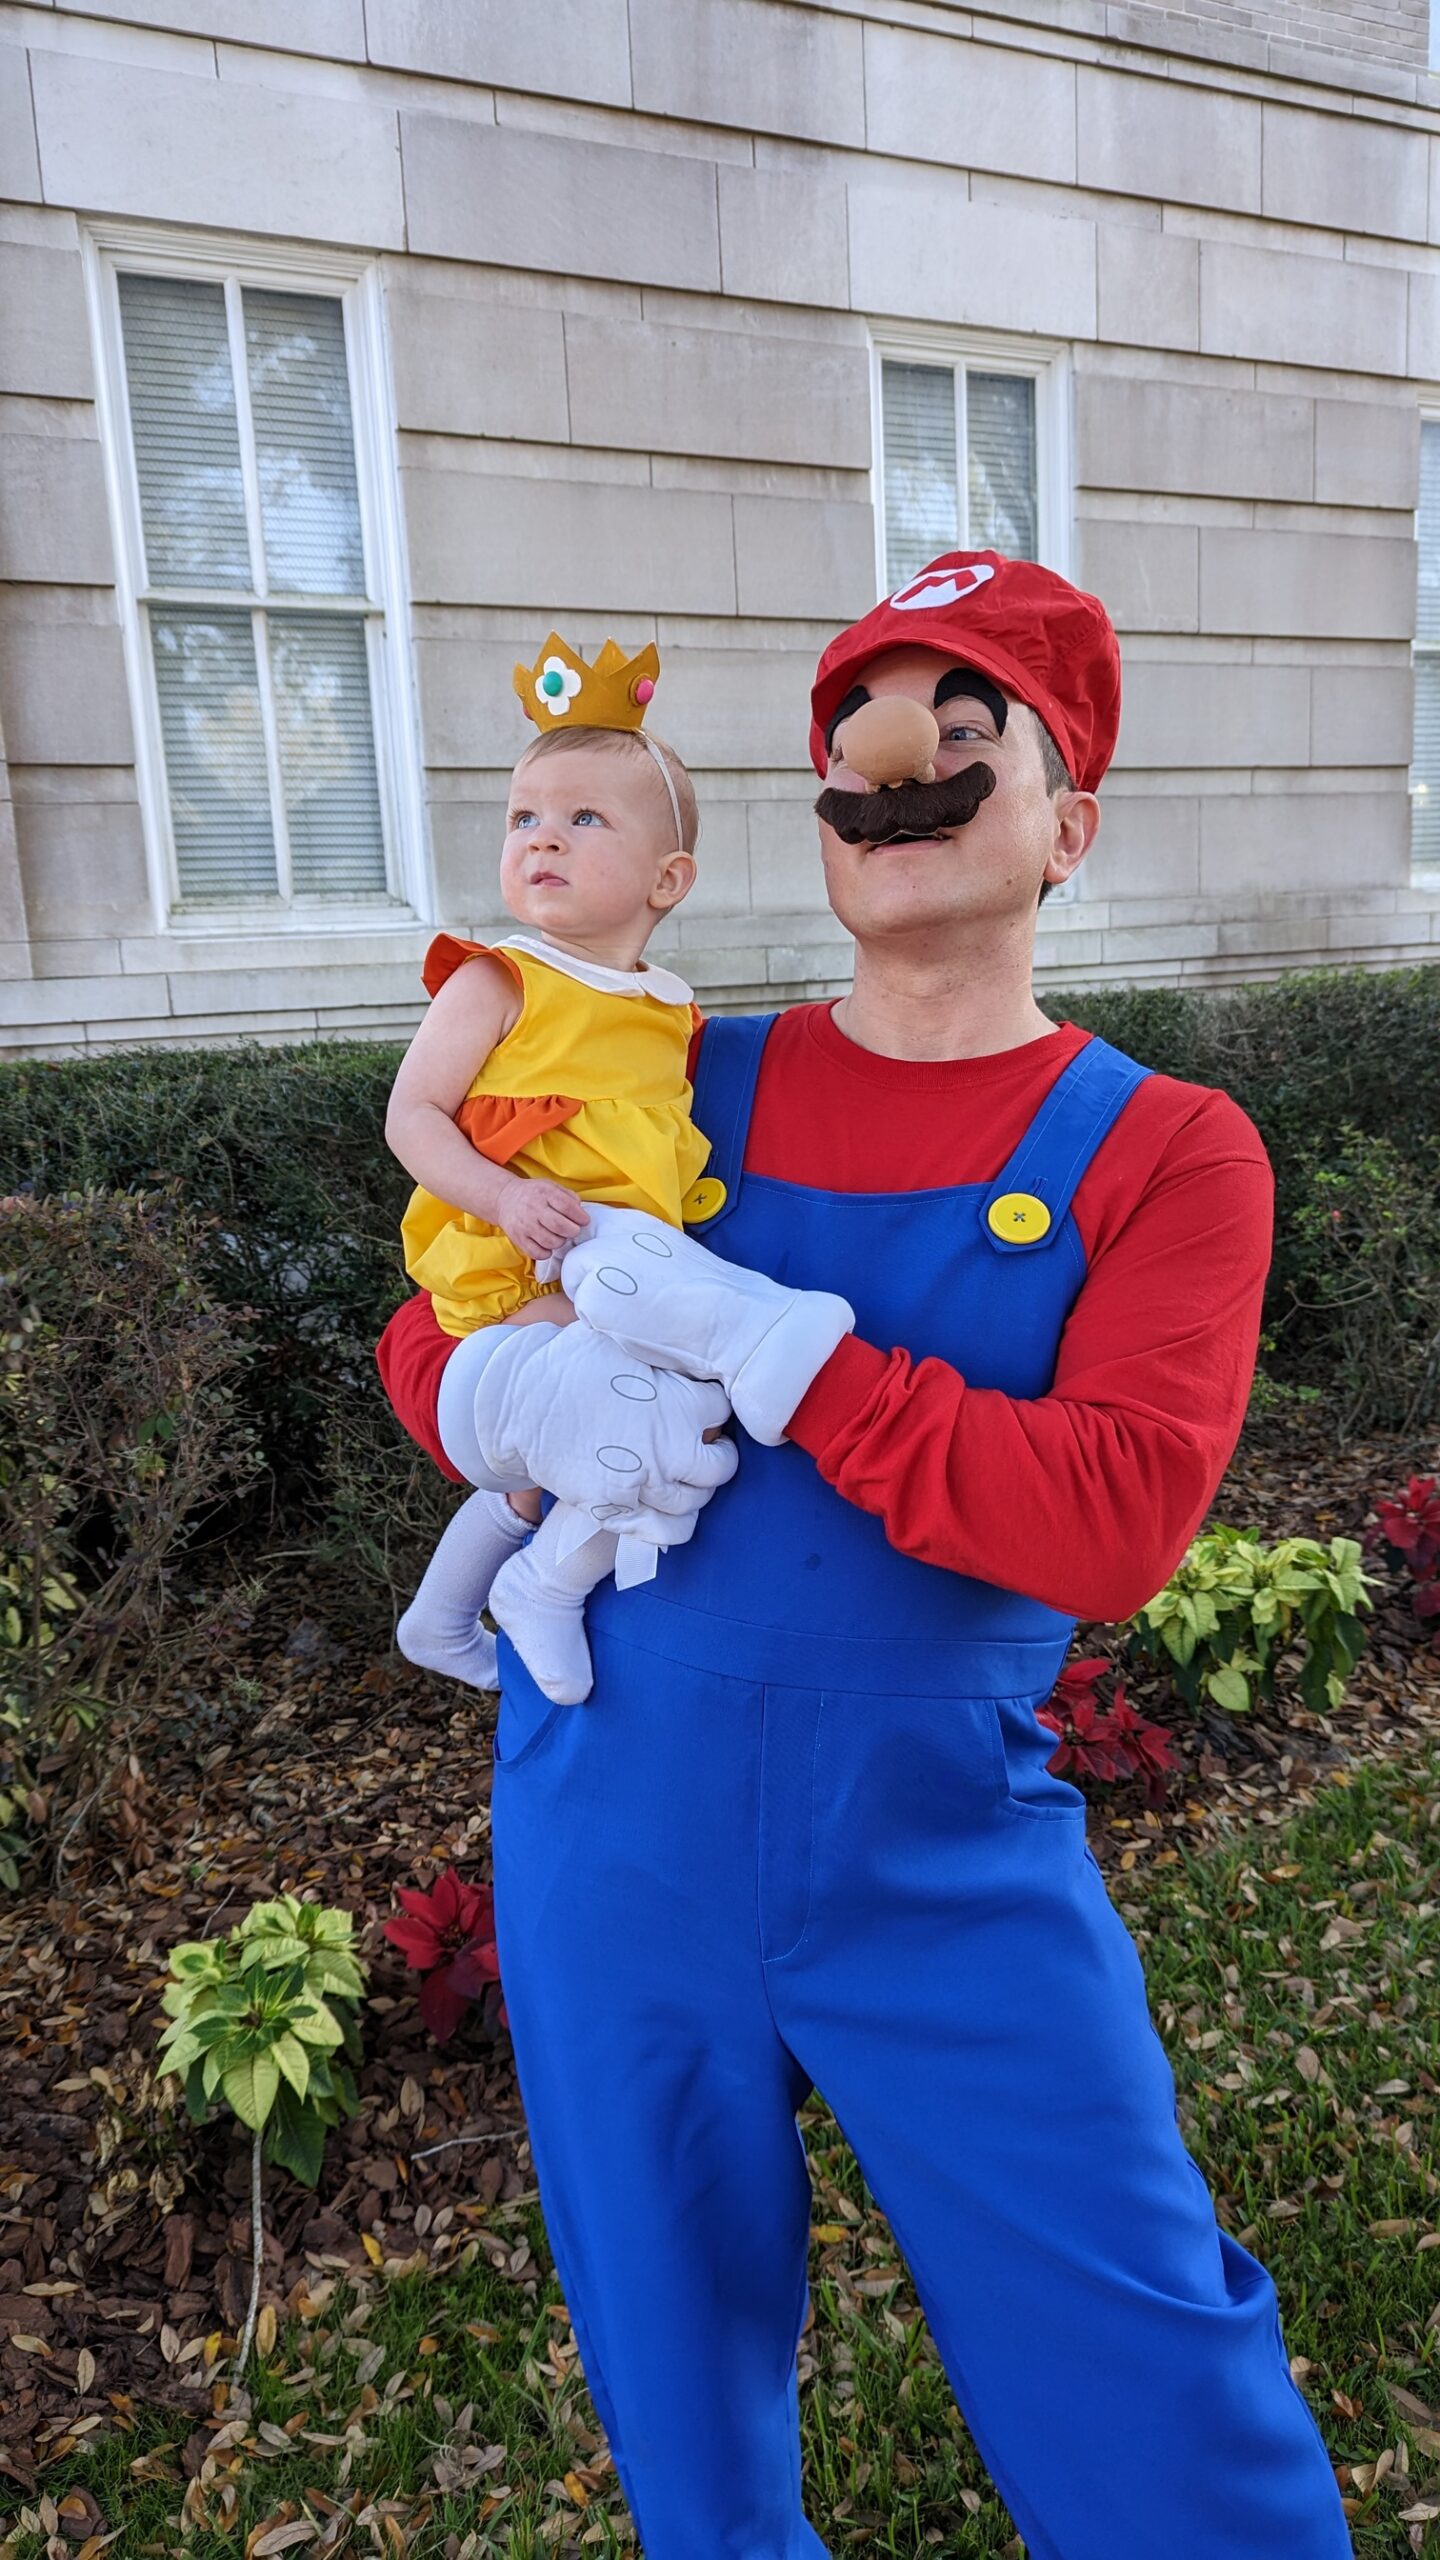
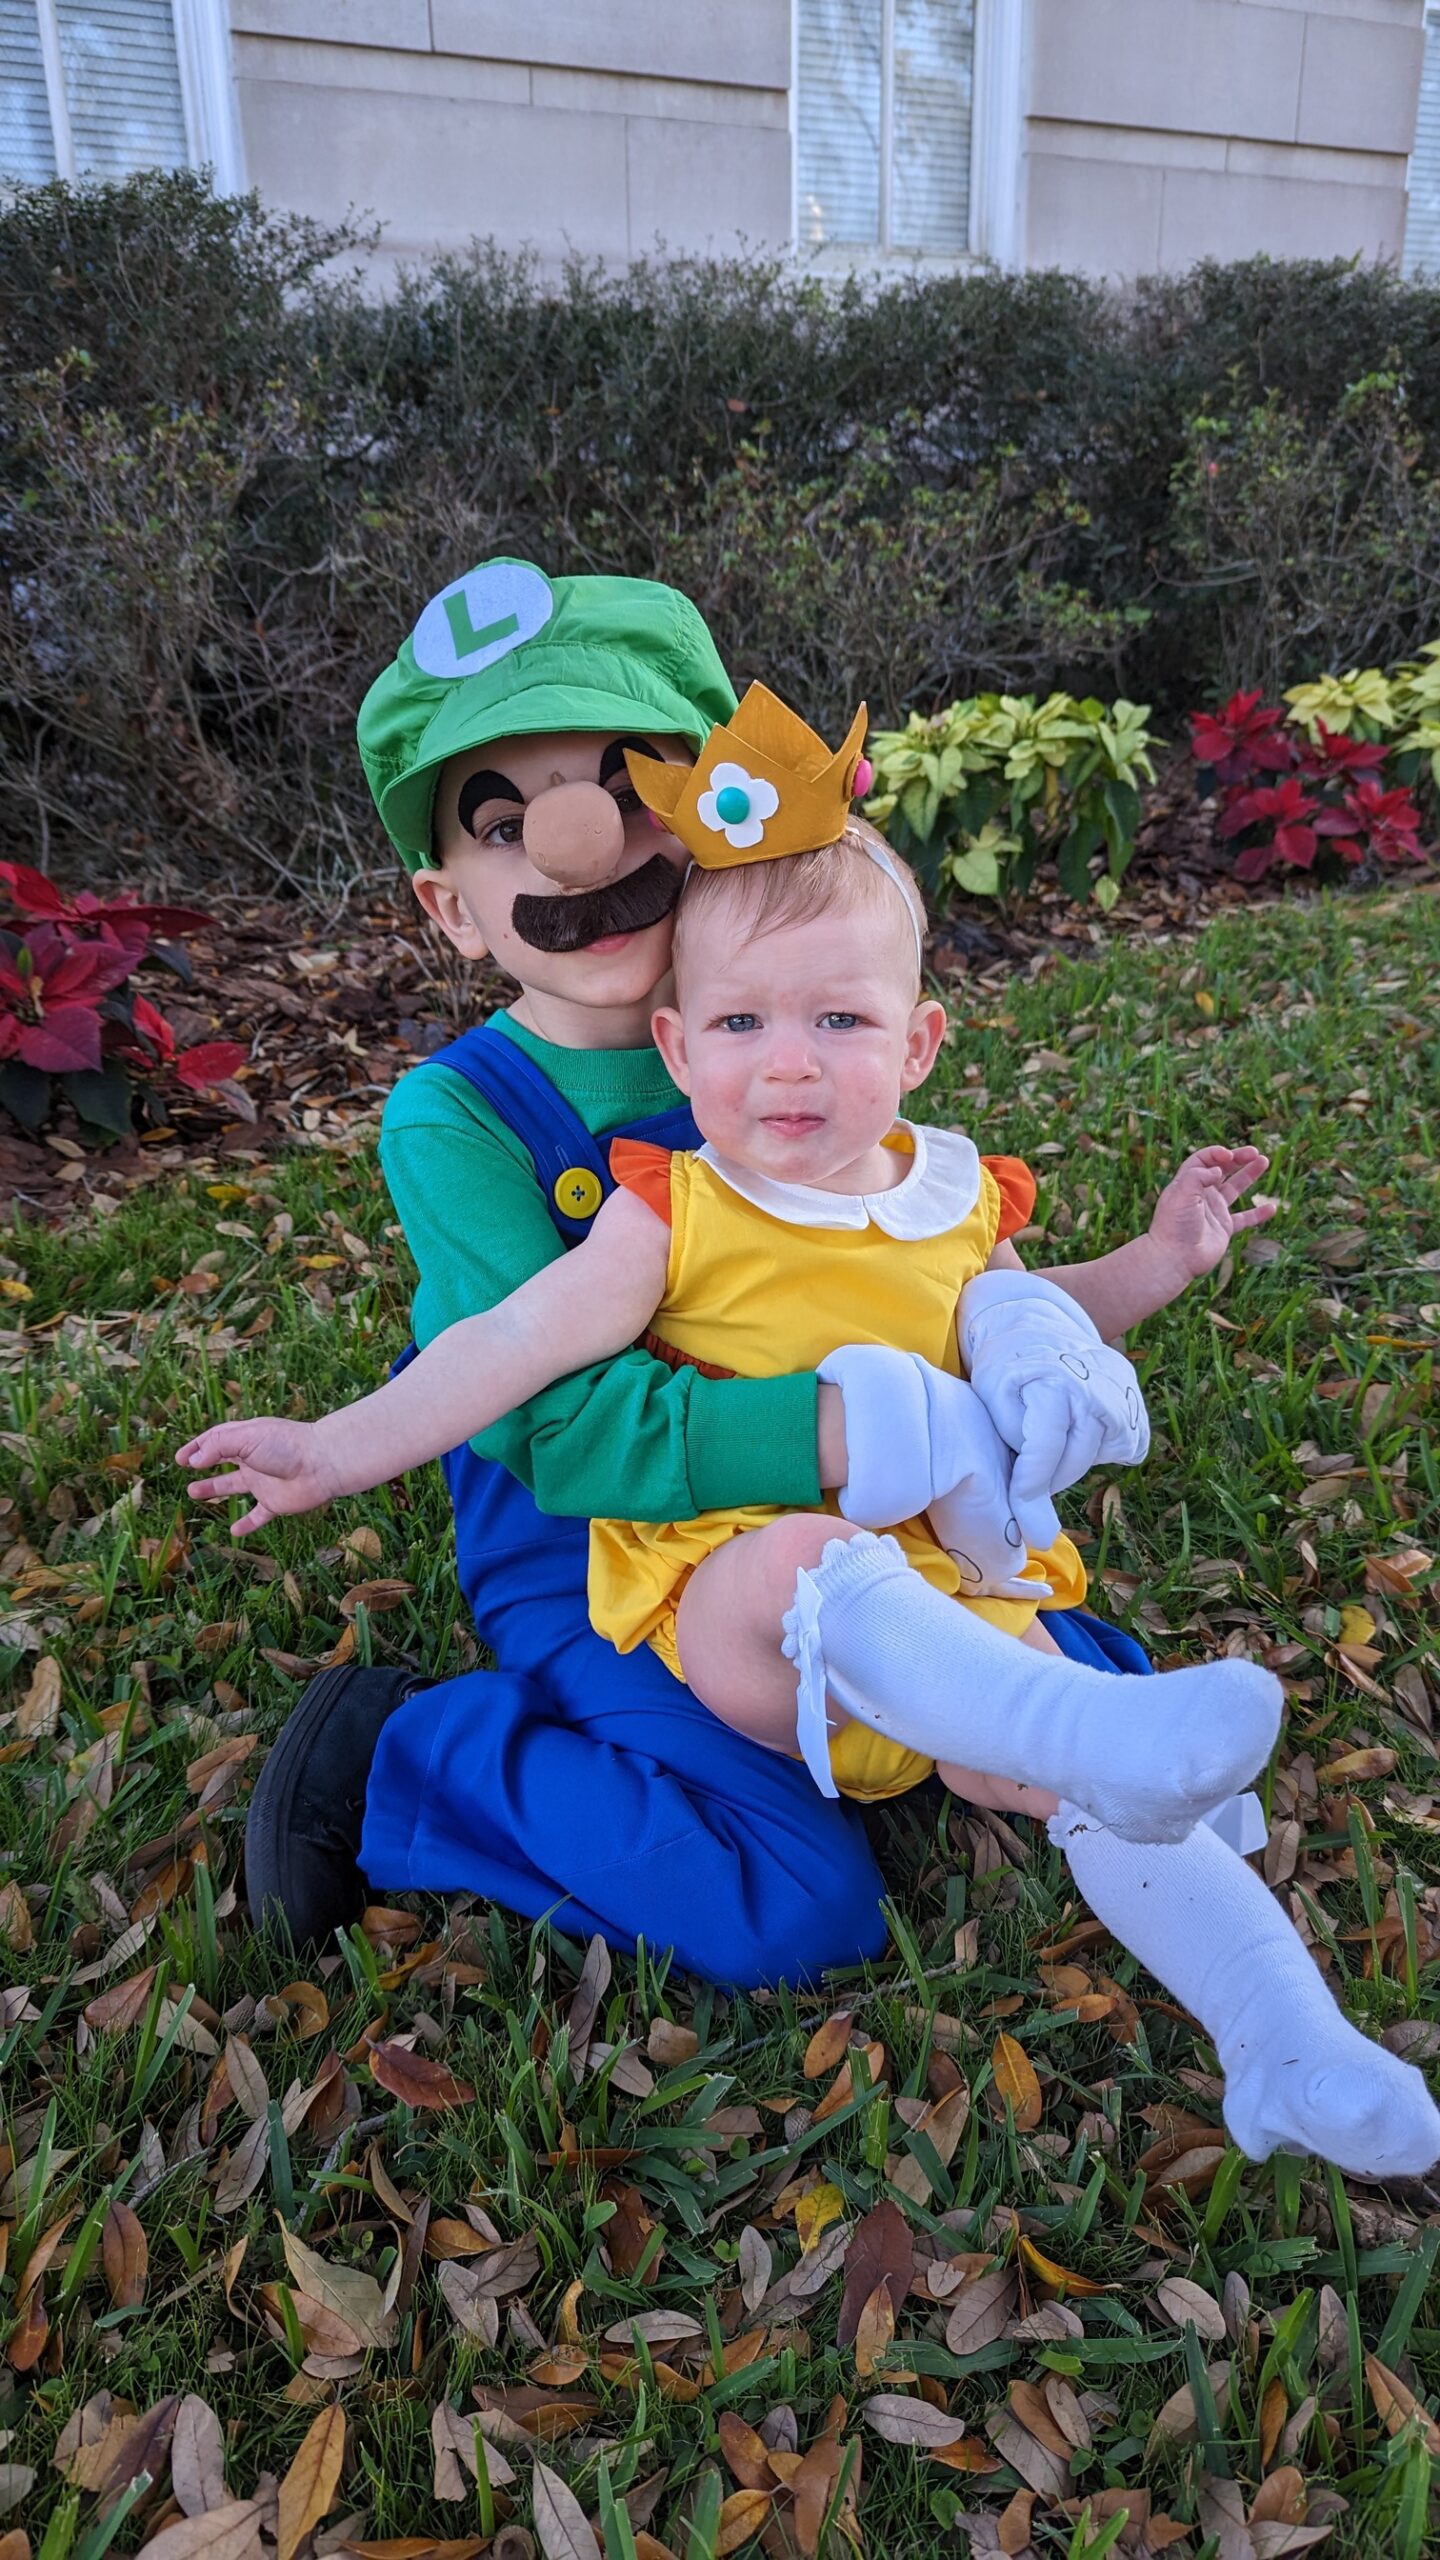
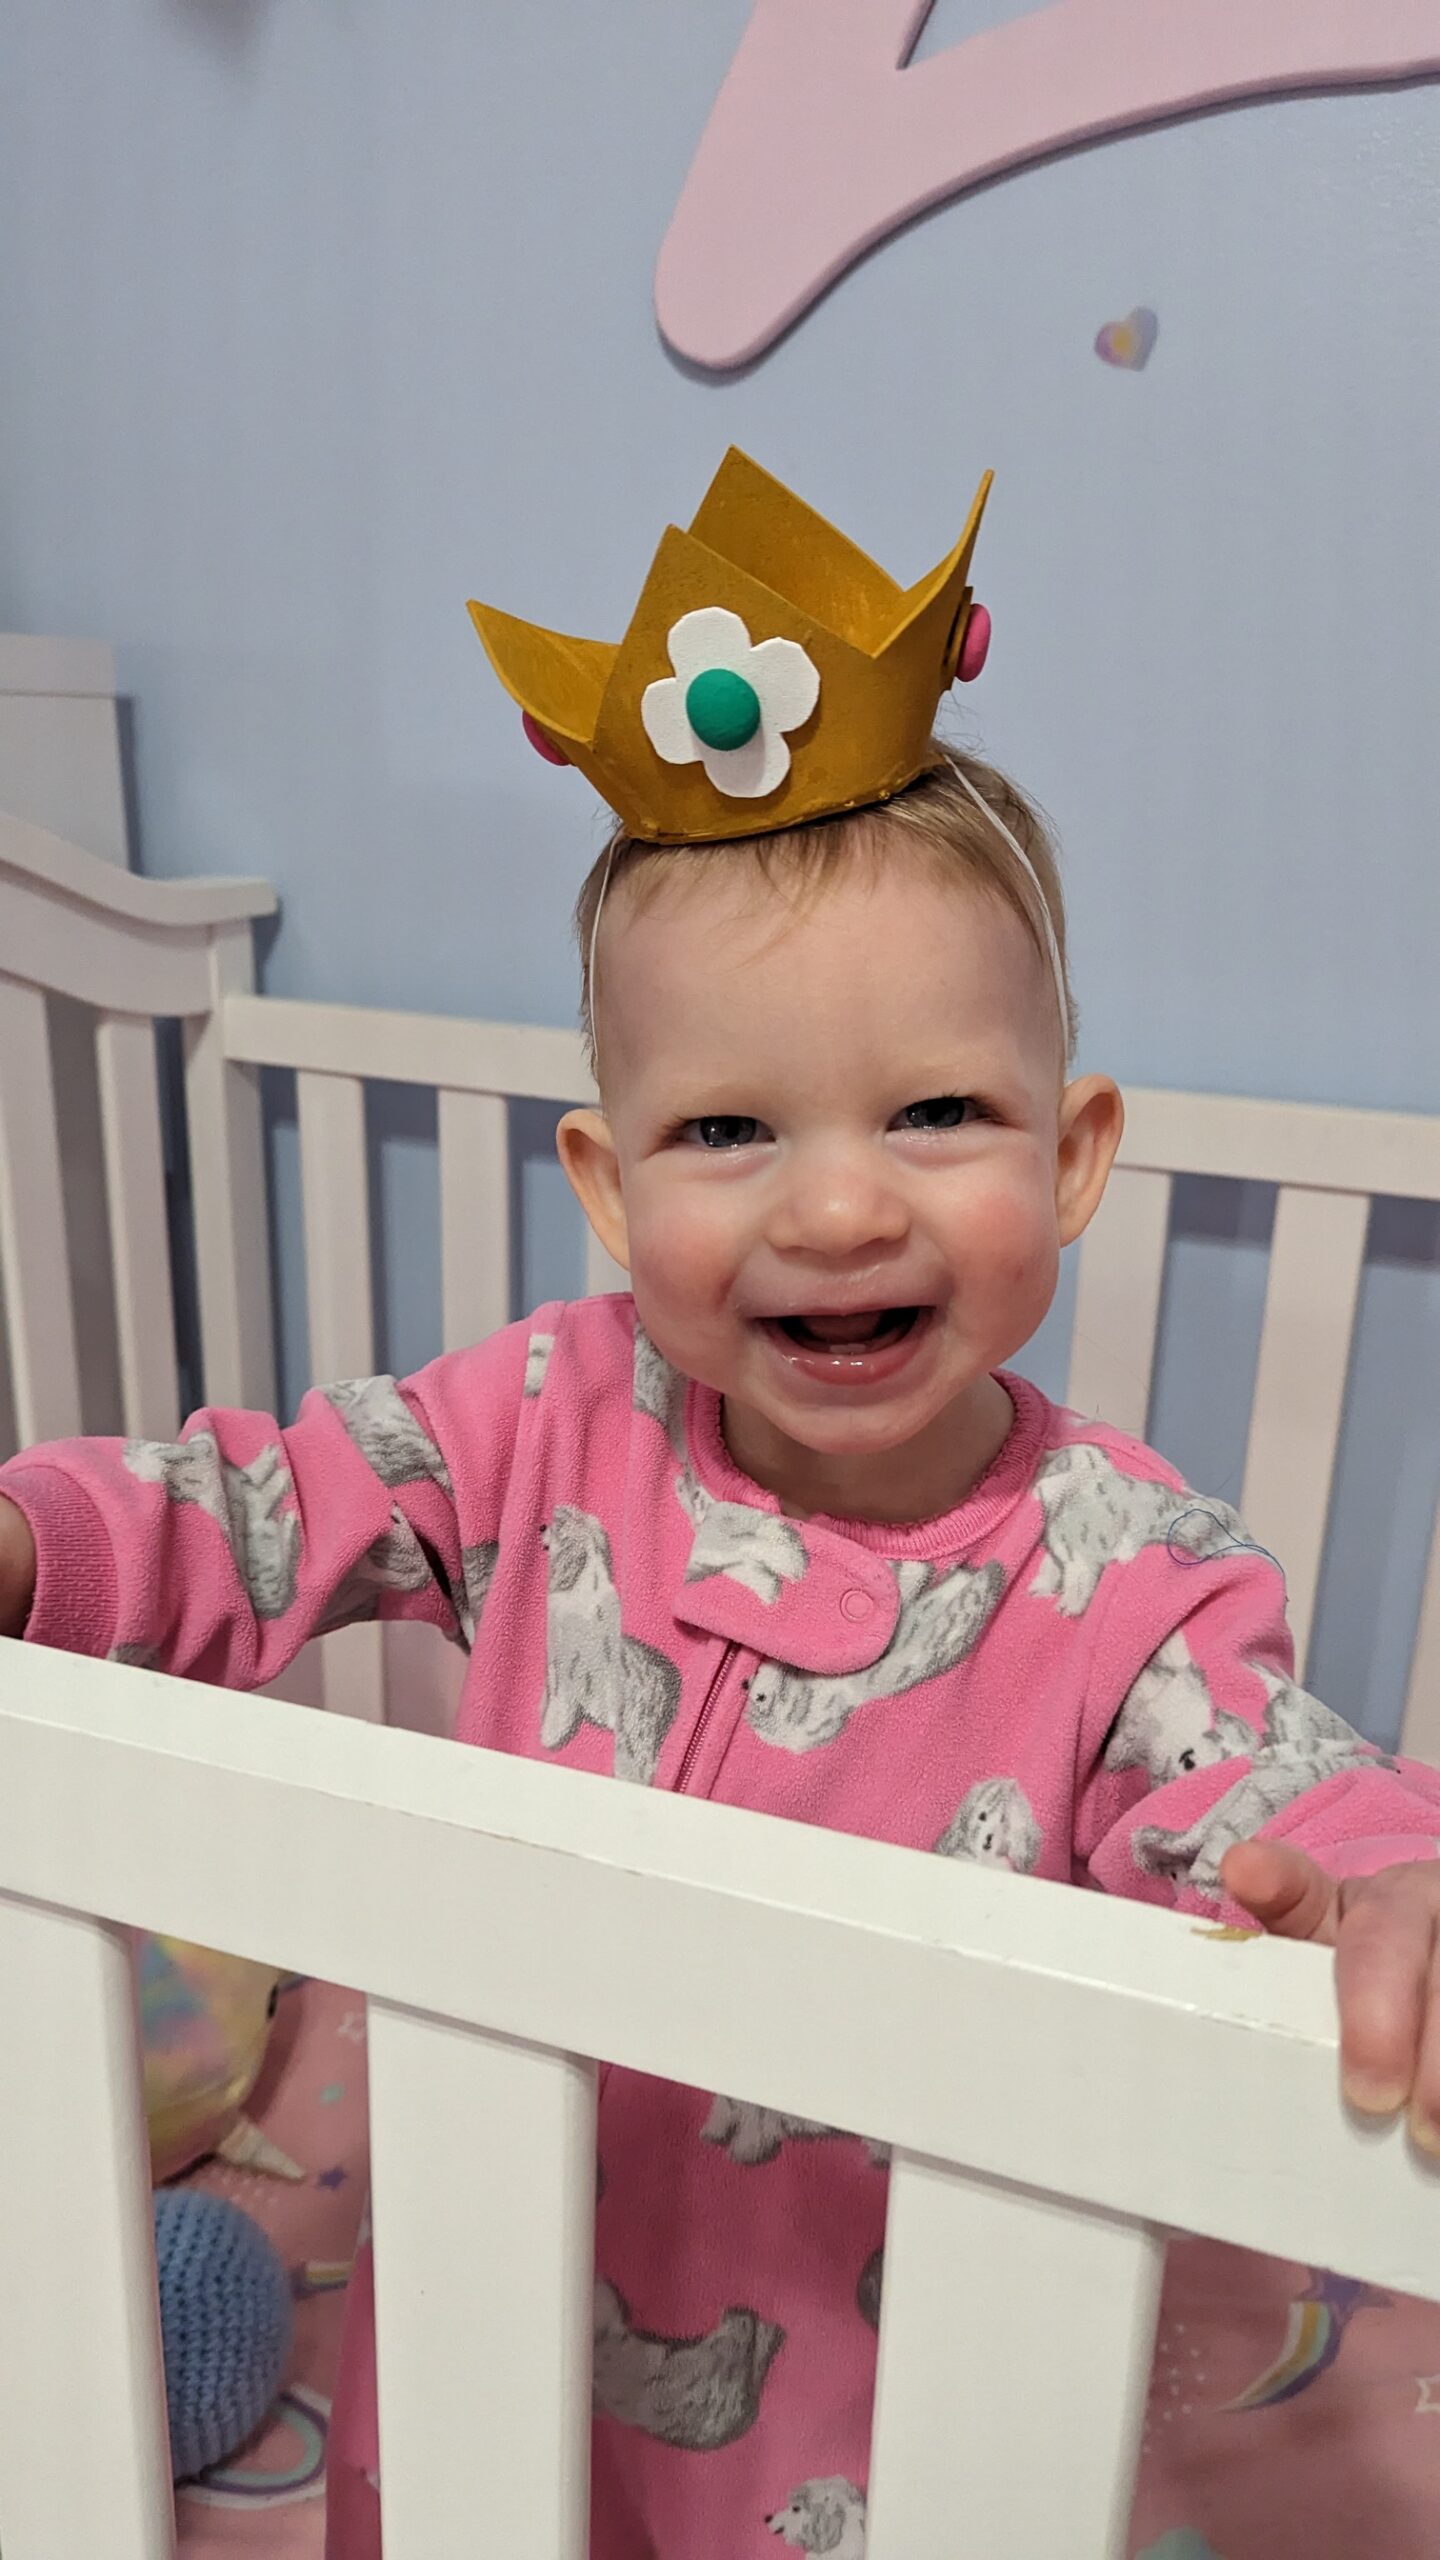
 Give your creation a final inspection, checking for any loose threads or uneven stitches. Lastly, be sure to take the time to make your little princess her crown.
Step 10: Celebrate Your Crafted Royalty
Once you’ve completed all the steps, you’ll have a delightful Baby Princess Daisy costume that’s perfect for special occasions, photoshoots, or just celebrating the magic of childhood.
Creating a Baby Princess Daisy costume using the provided romper pattern is a rewarding and heartwarming project. This enchanting outfit will make your little one feel like true video game royalty. With some patience, creativity, and a touch of sewing magic, you’ve crafted a unique and adorable costume that’s sure to be cherished for years to come.