


DIY Truffula Trees for Dr Seuss Nursery
In deciding on accessories that would need to go into Zayden’s Dr Seuss nursery, I knew that truffula trees would have to be featured. These beautiful little trees are iconic in the Seuss-world.
So what do you need to make these little beauties  yourself…
- Feather boas
- Terra-cotta pots
- Black pipe cleaners
- White pipe cleaners
- Small styrofoam balls
- Hot glue
- Hot Glue Gun
- Floral Foam
Prepping the Pots
You’re going to need to paint the little terra cotta pots. Well, honestly, you don’t really need to, however, I think it looks better in white, if you ask me. Plus, it gives you the ability to then do whatever you want with them. Good luck making them look a pretty pink over the terra cotta color, you really need a base color to work with.
Making the Stems
The stems of the Truffula trees are insanely easy. You’ll just need one white pipe cleaner and one black pipe cleaner. Don’t feel completely overwhelmed to try to make them all exactly the same…bark is different on trees just like the pattern can be different on the stems of truffula trees.
After Thought: If you have some heavier gauged wire, allow for it to wrapped in the middle of the black and white pipecleaners. This will allow for it to add stability, but still be hidden. Because the two pipe cleaners do not add enough stability, you’ll need to cut the stems down to half. Which, honestly, with the pot size, it just looks better, too.
-

- Holding at full stem length
-

- Holding at half stem length
Balls, Hot Glue, and Feather Boas
 So, I figured it would be easier if you had something more than just a stem to apply the feathers to…and I was so right.
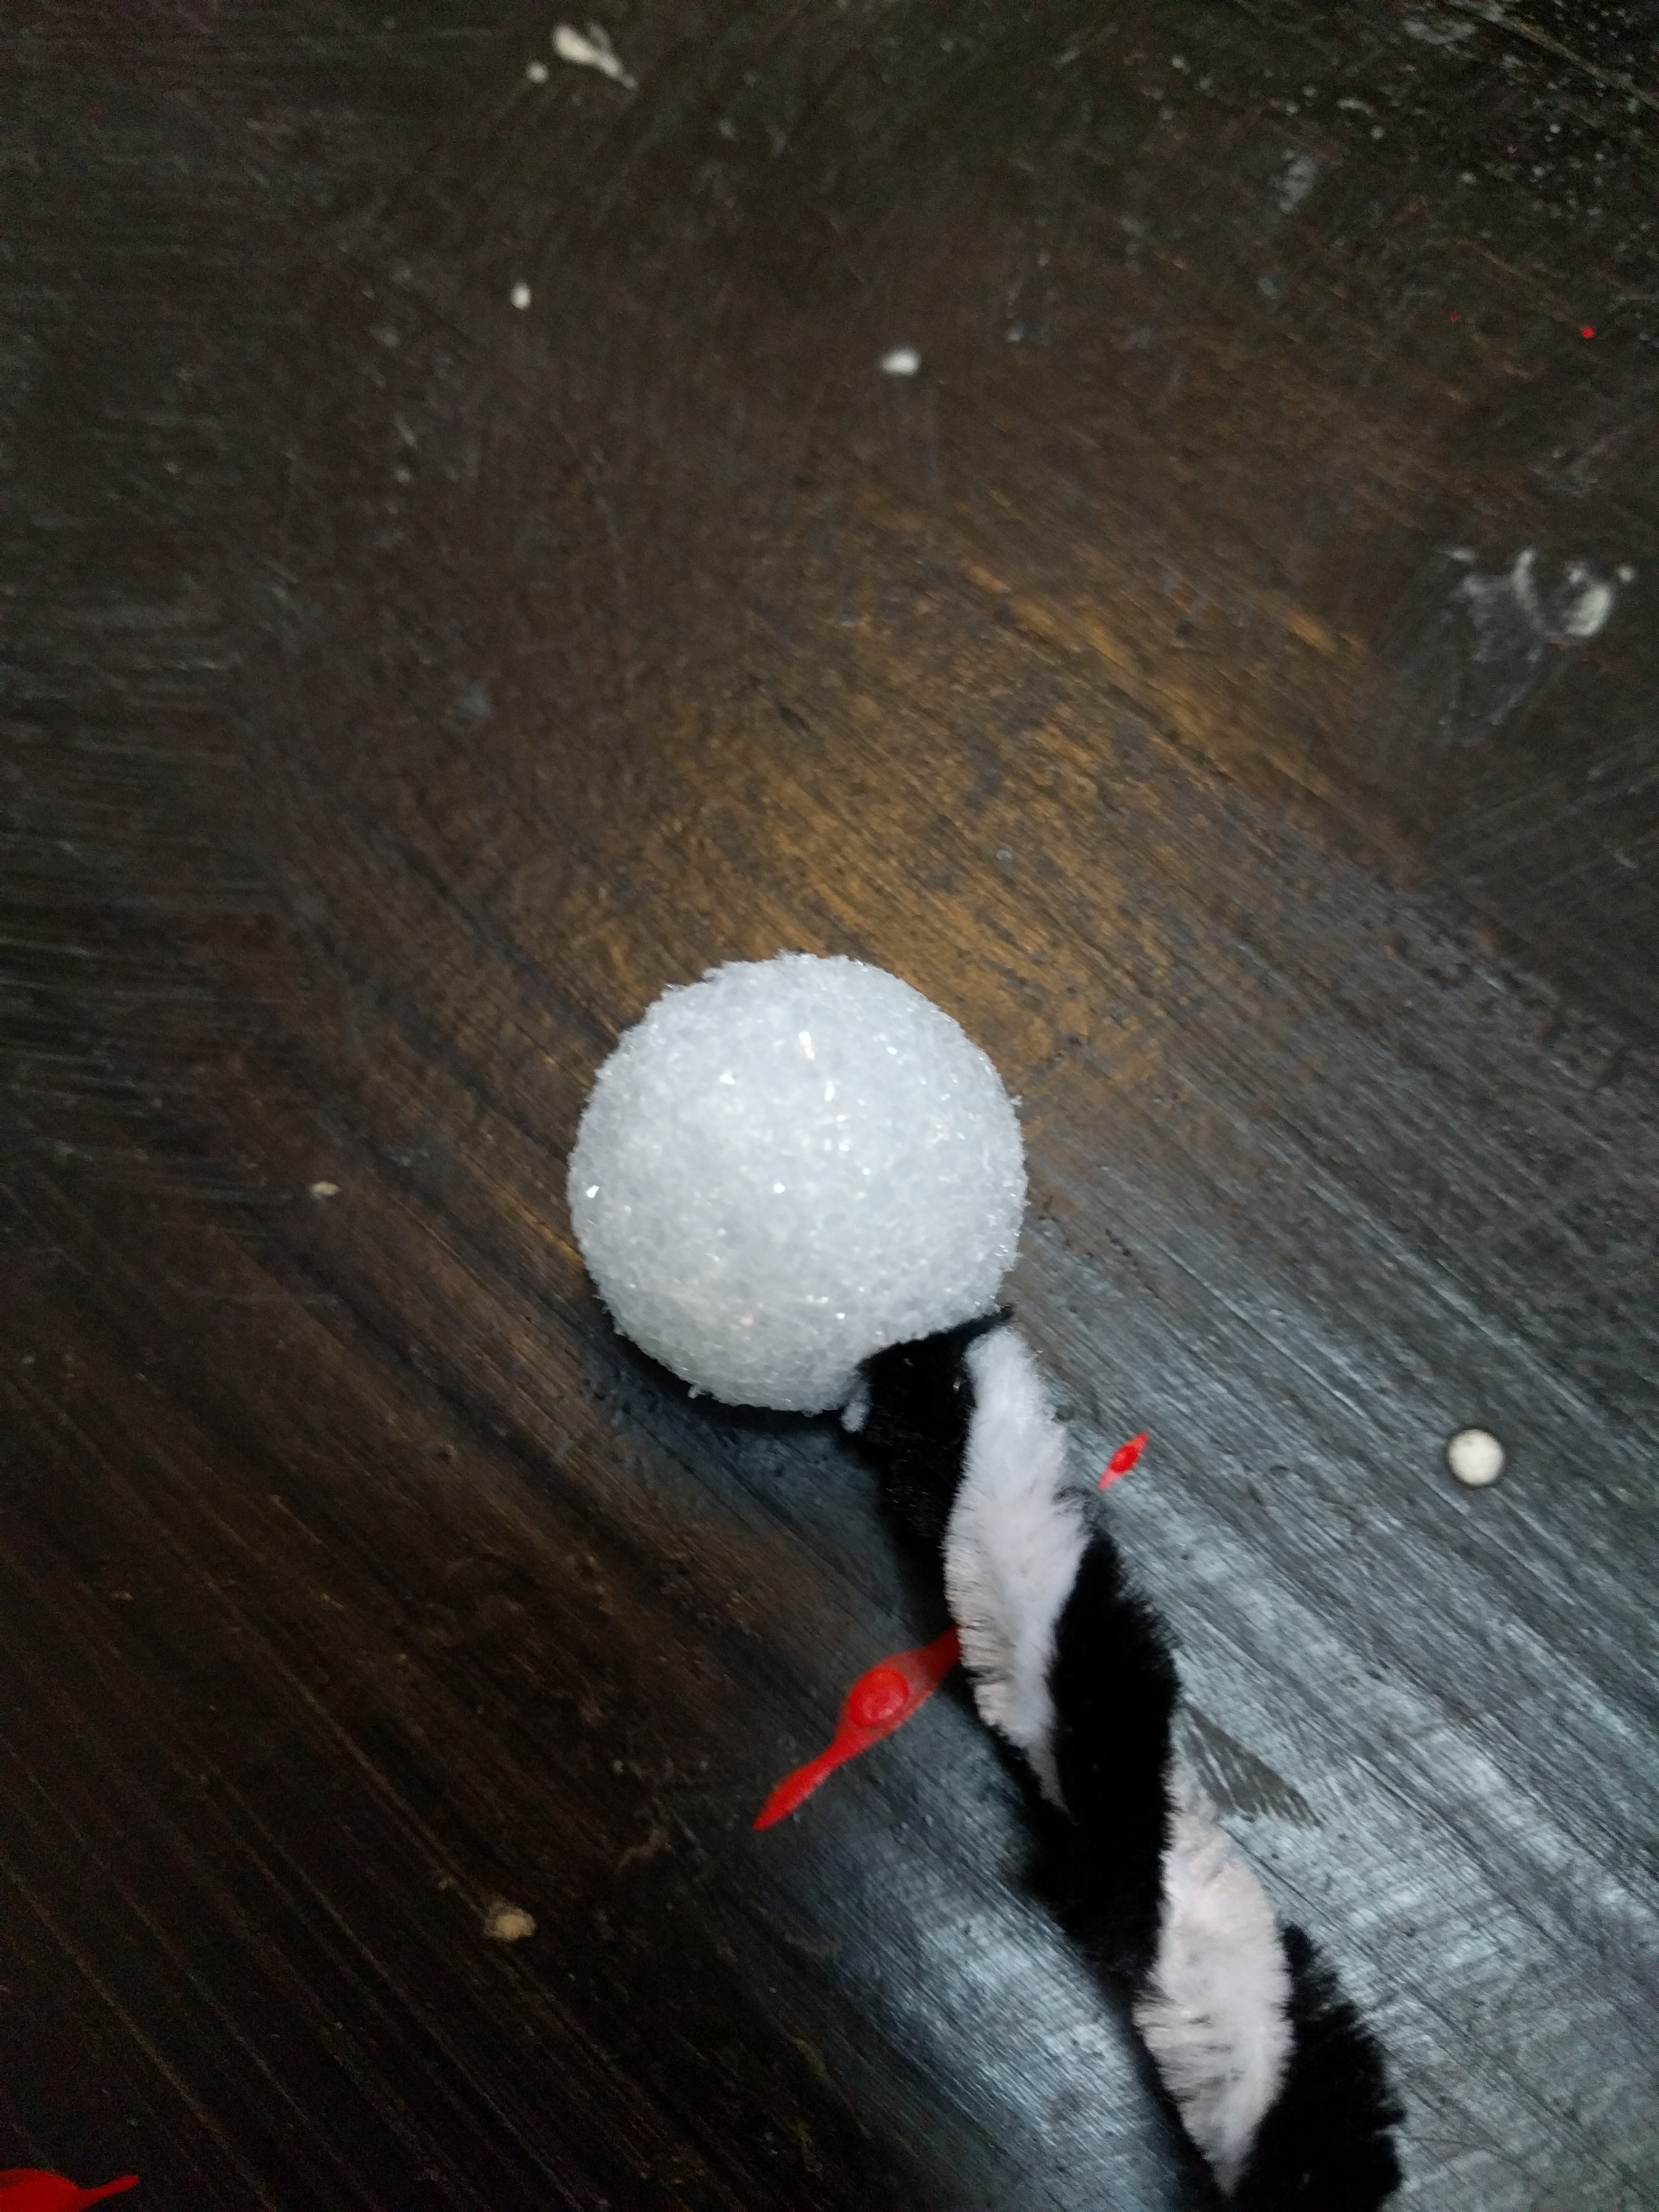
You’ll need to just poke the stem into your small Styrofoam ball. Time to heat up that glue gun and to cut yourself a small length of a colored feather boa of your choice. (Cutting your feather boas is going to make a hell of a mess…just be ready for it lol)
Start by giving yourself a bead of hot glue at the top of your ball, then apply one end of your feather boa. Hold this for a second to allow for it too cool. The glue really needs to penetrate the layers of feathers you’re using. Apply some more glue and continue to wrap the boa around the ball little by little. My sister found it helpful to blow the feathers out of the way when trying to touch them to the glue so that the glue is more directly hitting the internal vein of string holding it all together. When it’s all done, you can blow it or shake it out and you’ll never know that a ball and glue are even being used.
The after product from this step will look like the two photos above this section.
Stuffing Foam and Plating Our Trees
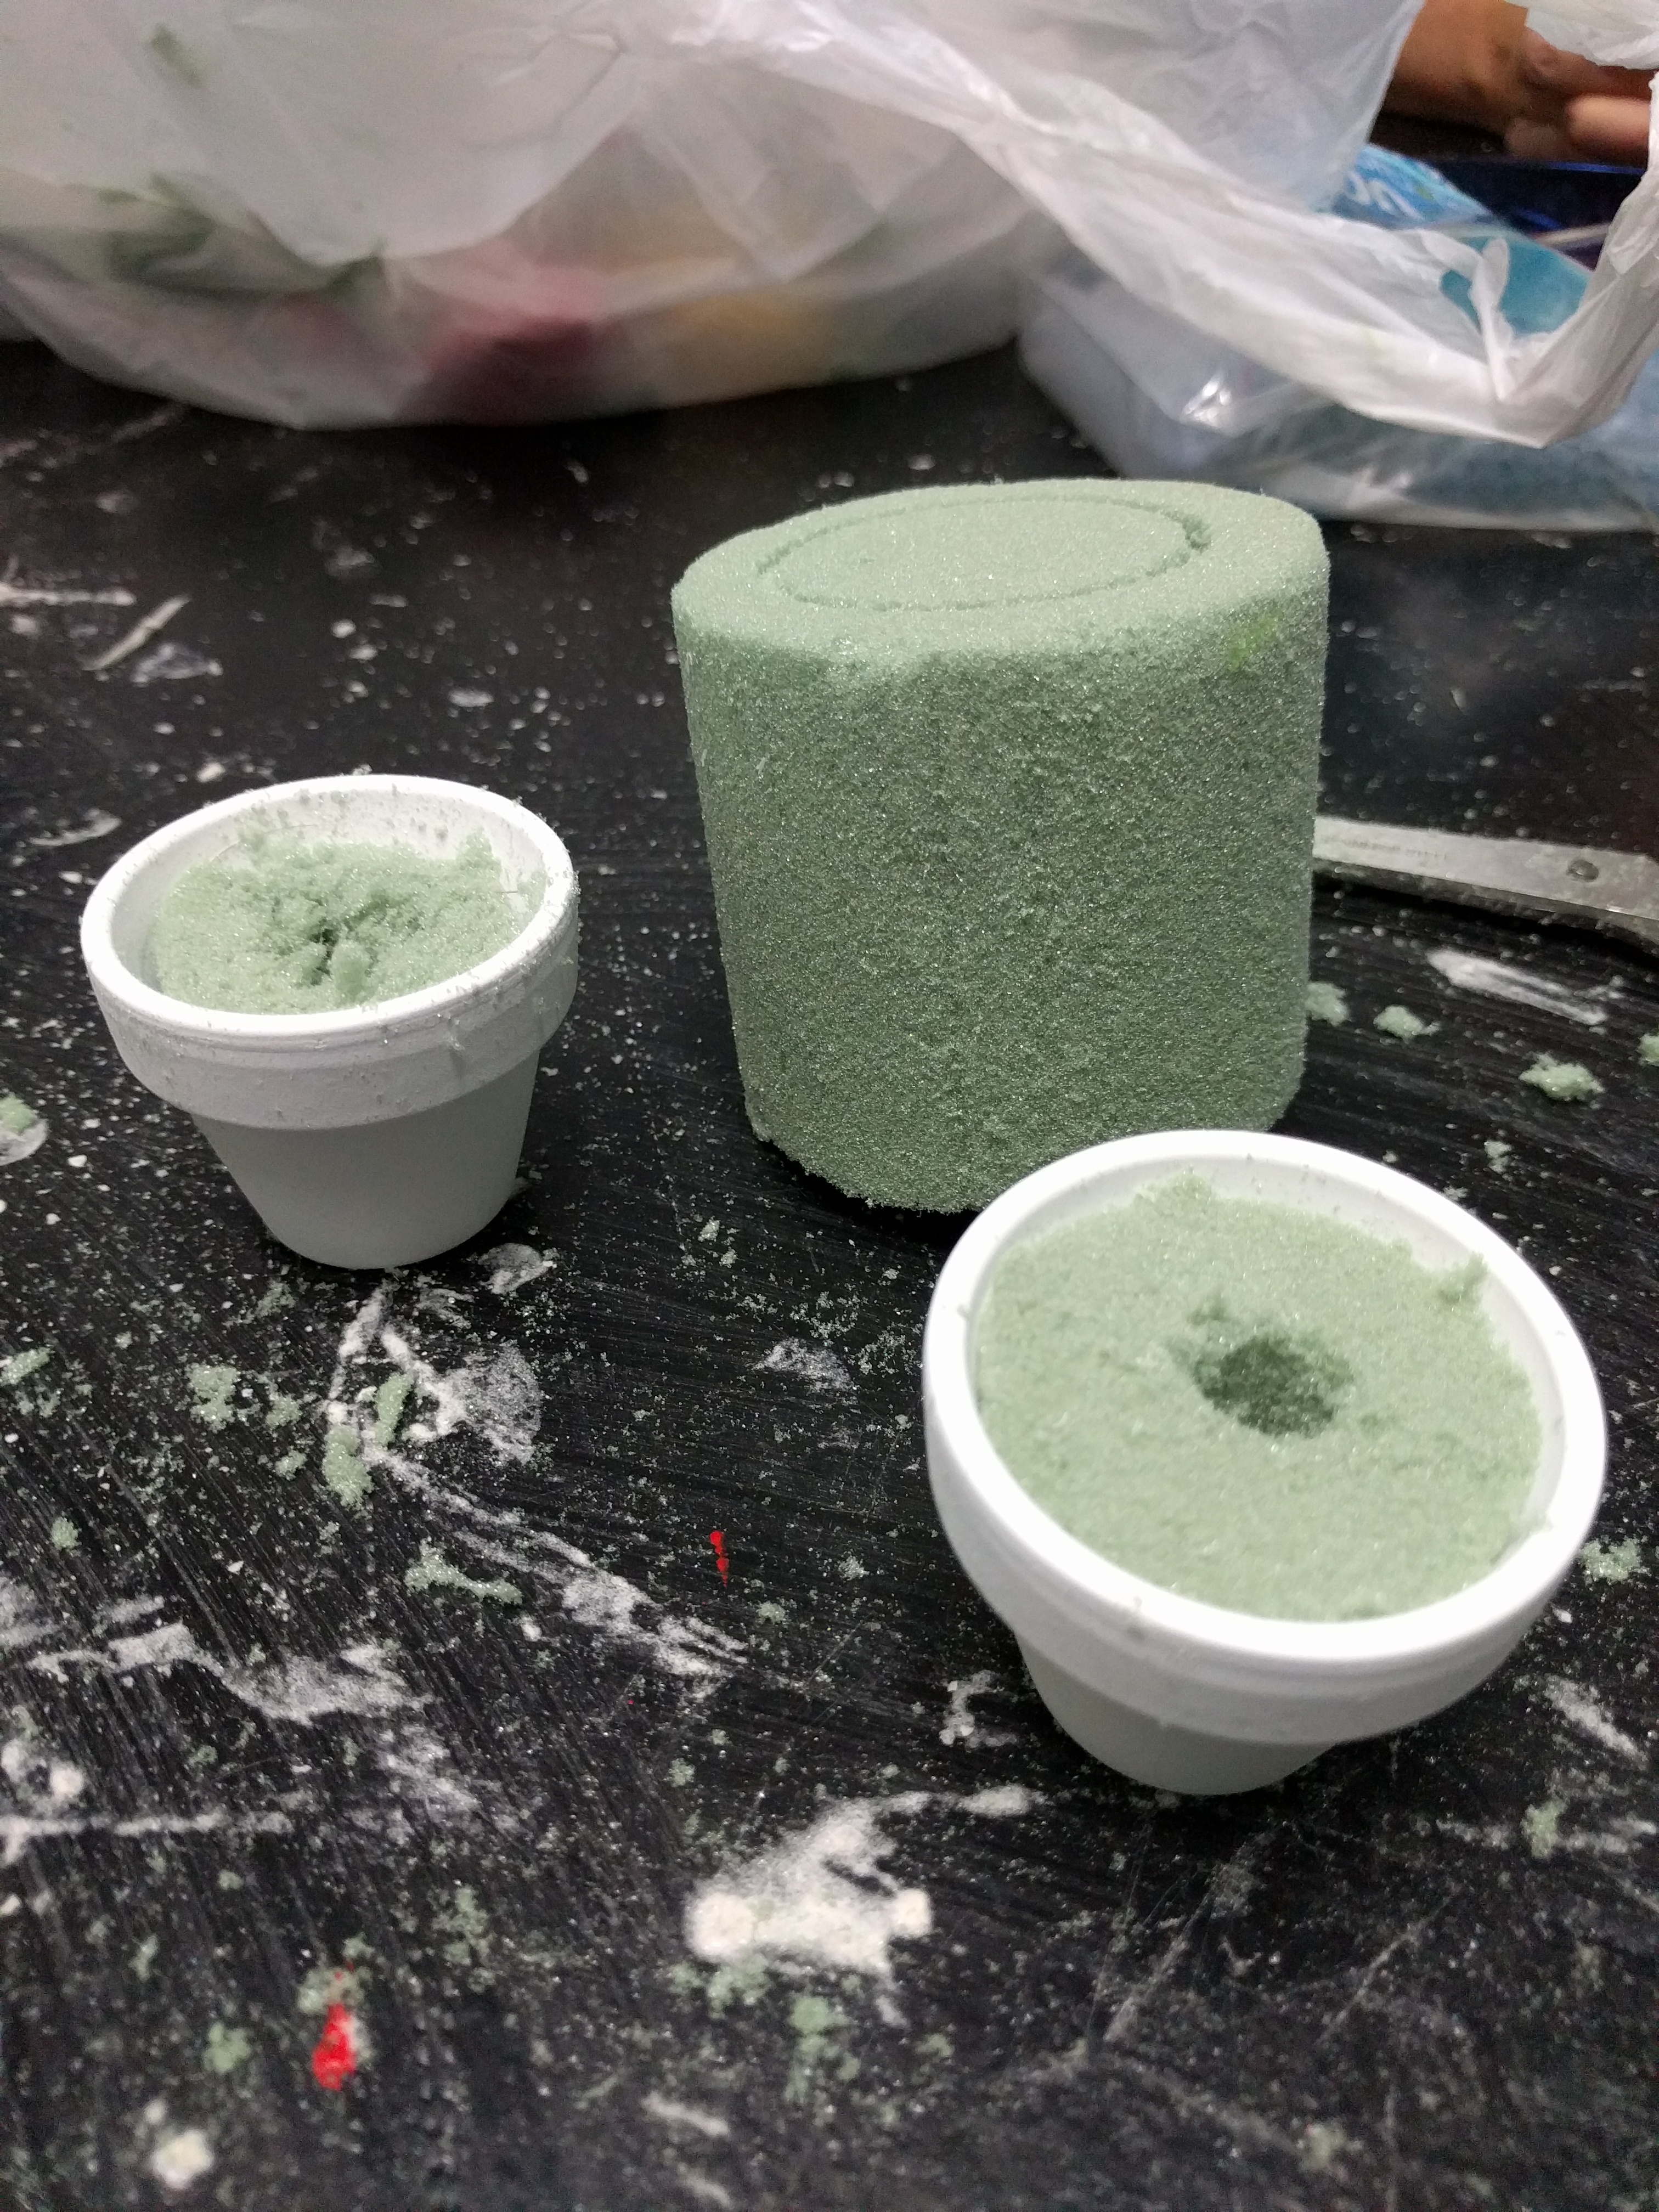 In order to transplant our little Truffula trees, we’re gonna need to fill our pots with something willing to hold everything up for us. For this, I used green floral foam. If you think you made a mess when cutting your feather boas, get ready for some more clean up lol.
If you’re a perfectionist like I am, I like to have a system and process in place and just do each one the same way. So, I pushed the biggest spot of the pot into the flat site of the floral foam and then measured how tall 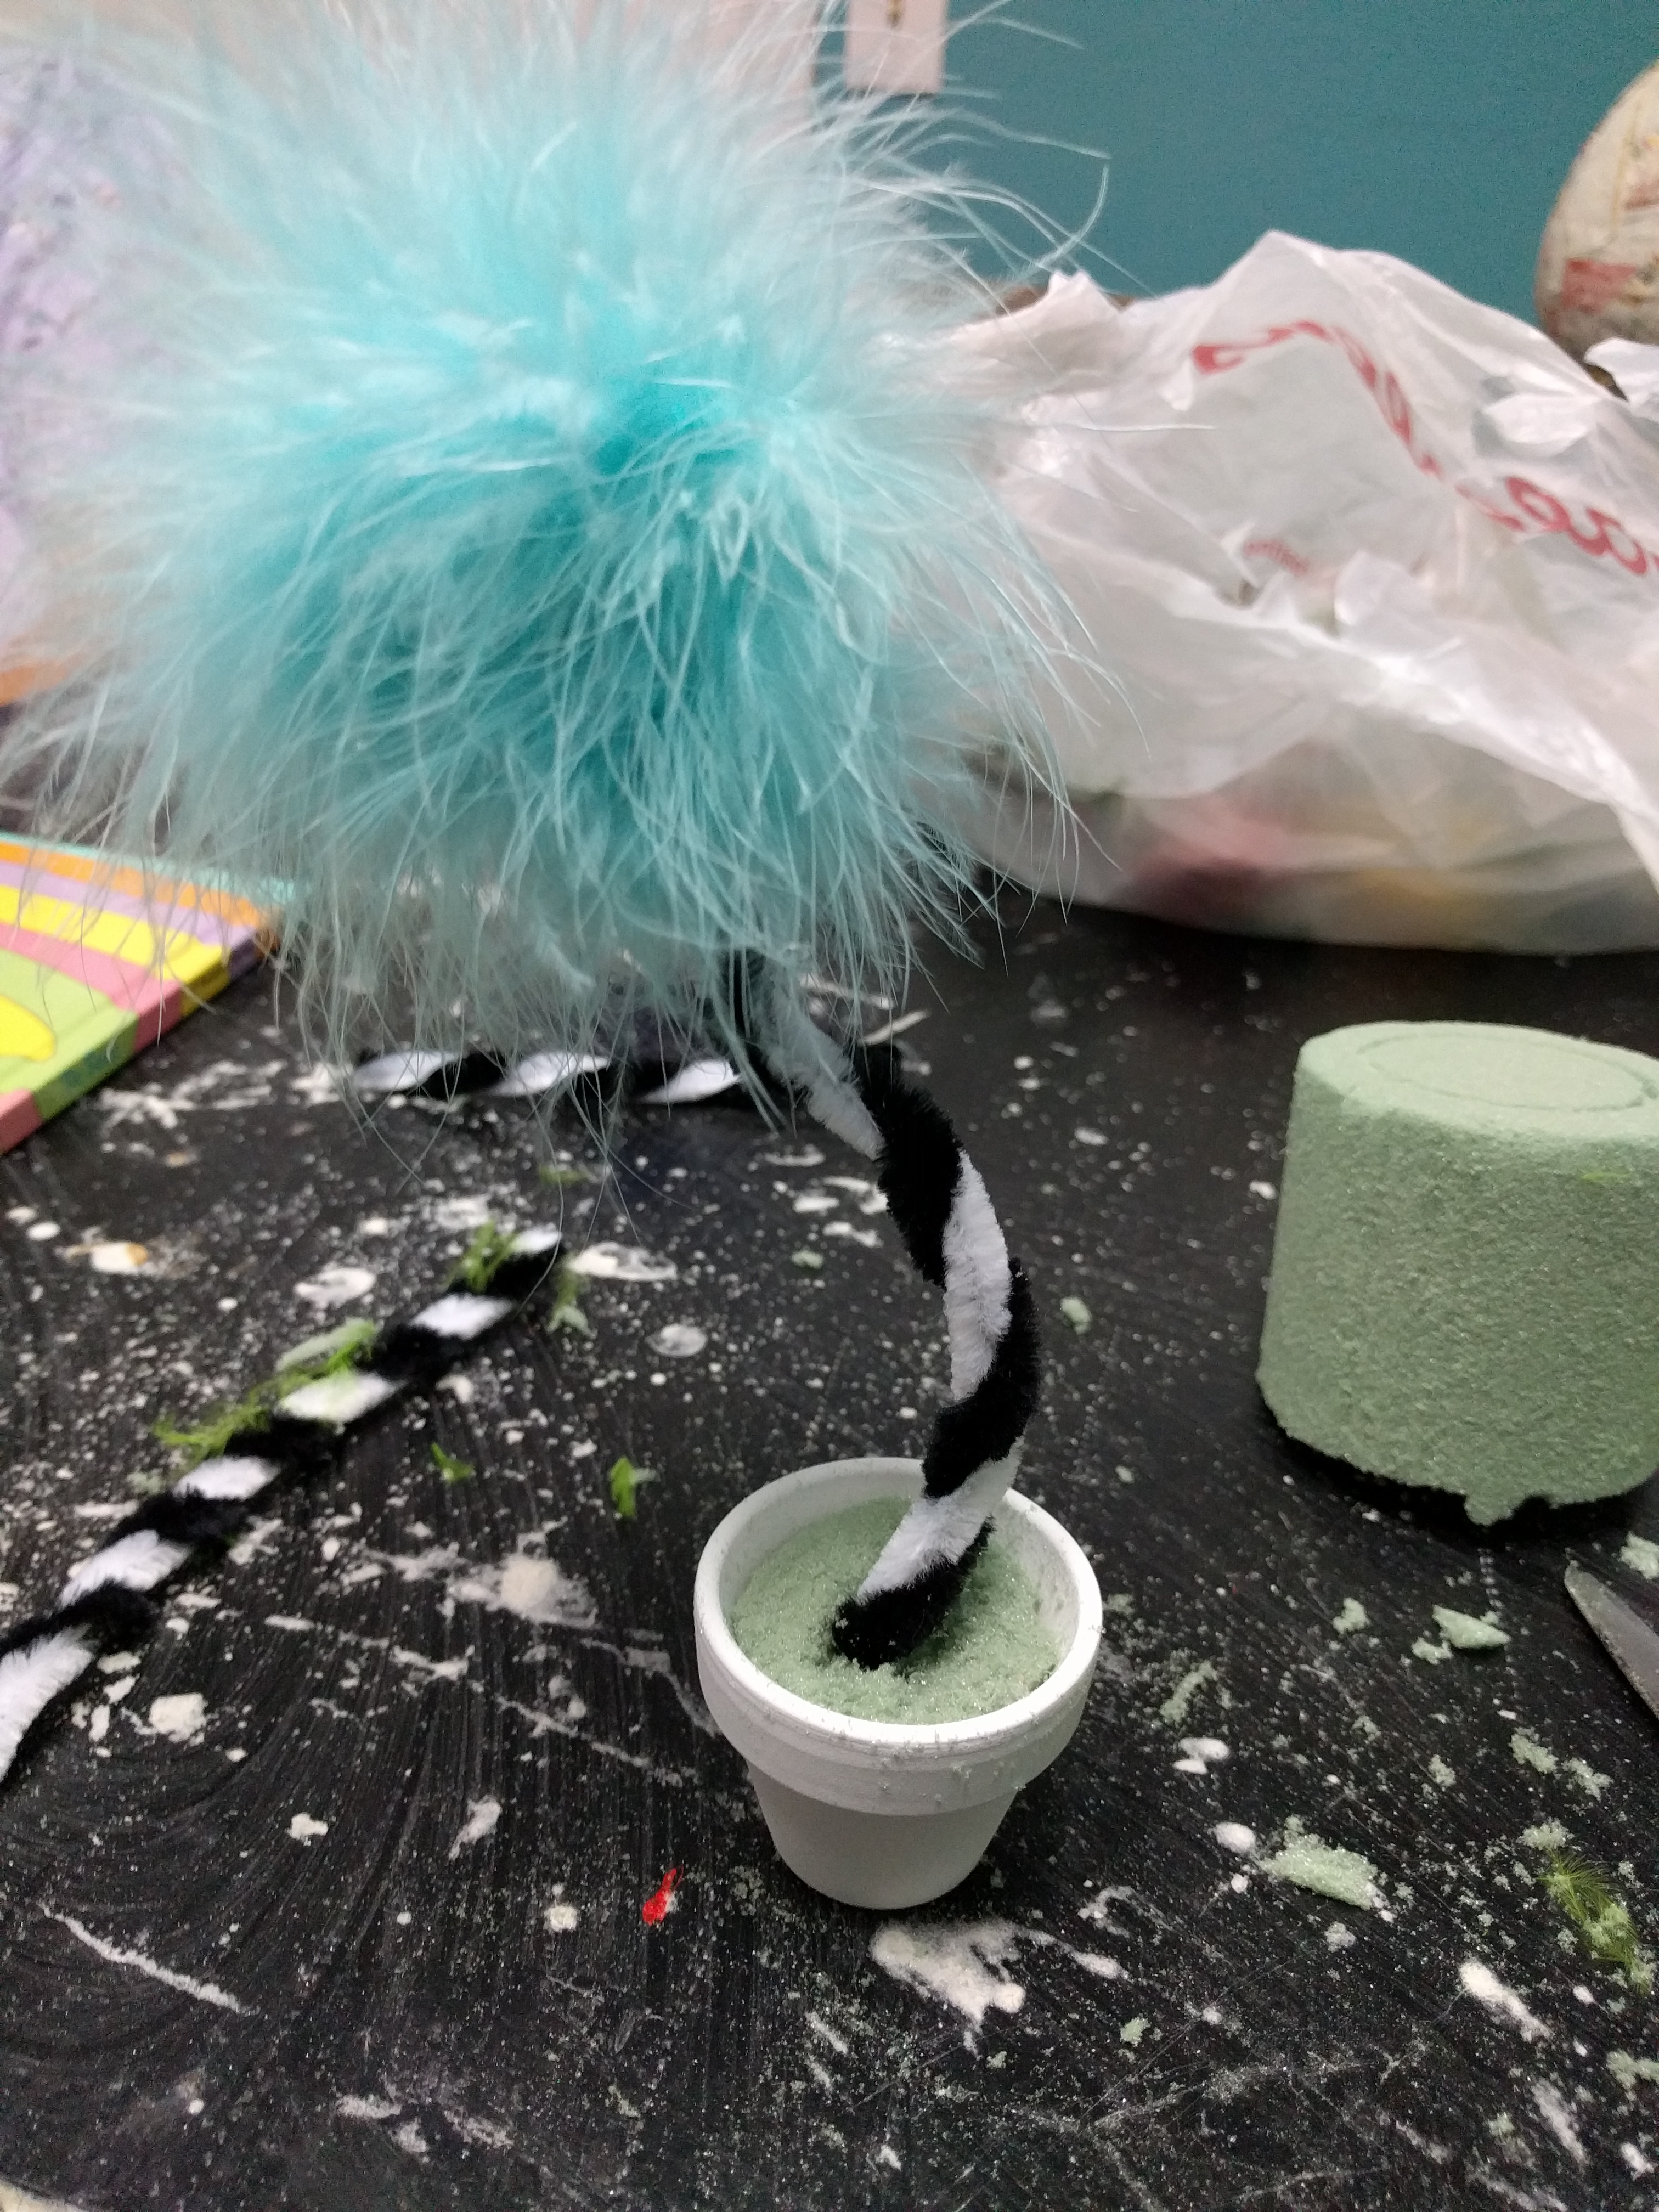 the pot was. I used scissors to cut the circle out. After this, you have to taper it down so that it’ll fit in. Feel free to test it out and see how you’re doing. Don’t be afraid to push that sucker in there and make it work. (or you can do like my sis and just push some pieces together and stuff them into the pot lol)
After you’re happy with your filler. Go ahead and make a hole for us to stick our stem into. For added stability, use a little hot glue when you’re inserting.
